In my opinion, keeping some fish and eating them with friends and family is the perfect ending to a good fishing trip. It’s one of the main reasons I like to fish. Conservation efforts like catch and release are extremely important, but removing some fish can also be good for a fishery and is often vital for the lake’s long-term health when it’s done in accordance with local regulations.
Cleaning fish is also a great way to involve kids. It makes them feel like part of the whole process, teaches them life skills and creates an awareness of where their food comes from. Children as young as 4 can be in charge of scaling the fish or rinsing fillets. As they get older, they can often start learning to use a knife by cutting around the rib bones.
Learning to fillet fish and prepare them for cooking can be challenging for beginners, but with practice, it should become an easy process for any angler.
Basic Equipment
- Fillet knife
- Cutting board/small table (or both)
- Scaler or spoon (optional)
- Pan for fillets
- Clean water source
- Trash container (with liner if desired/needed)
Preparation and Practice
Filleting fish gets easier with experience. The first few times, more meat might be left on the carcass than on the fillet. That’s OK. Inspect the fillet and the remains of the fish to see where there is room for improvement.
Also, be sure there’s adequate time to prepare the fish. Filleting at the end of a long fishing day or while a hungry crowd is awaiting dinner can cause unnecessary stress, and getting in a hurry is what causes mistakes.
Fish are fine kept on ice for up to 48 hours. So, it might be best to wait until the time is right to clean fish for the first time. Just be sure the ice doesn’t melt and result in the fish being stored in water.
Finally, safety is parament anytime there’s a knife involved. Make sure there is proper lighting. There are also filleting gloves that can be worn on the hand opposite the knife to prevent injury. It might be worth wearing one for a while.
Where to Clean Fish
Learning to fillet fish is usually best done at home with all the proper equipment in place. However, outfitters or state agencies sometimes set up fish-cleaning stations by lakes and rivers. If access to one is available, it does make cleaning up easier.
Just be sure to check state regulations before transporting the fillets home. Many states require a swatch of skin to remain on the fillets for identification purposes. Consult state agency websites to verify what’s required.
To Scale or Not to Scale
Removing the scales from the fish before filleting them has a few benefits. The first is that filleting a fish without scales is much easier. The knife will run straighter and smoother. Not having to cut through scales also reduces the amount of knife sharpening required. Finally, by scaling, the skin remains on the fish, and some people prefer the taste of the fish this way.
Scaling is simple to do using a spoon or a special scaling tool. Just push the tool “against the grain” of the scales and the scales will come free.
The alternative to scaling is to skin the fillets after the fillets have been removed. Skinning is usually a little faster and eliminates the mess of having loose scales on the cutting board. The choice to scale or skin boils down to personal preference.
Filleting with a Fixed-Blade Knife
Electric knives work great for filleting fish in some circumstances (and will be covered in another blog), but I recommend beginners start out using a fixed-blade fillet knife.
Here’s how to do it:
- Lay the fish on its side and hold it by its mouth. Make the first cut across the fish’s side, right behind the gills and pectoral fin. Don’t cut through the backbone.
- Now, turn the knife and cut along the top of the ribs. Use the fish's spine as a guide, and keep the knife at a 20-degree angle.
- Once past the ribs, push the point of the knife through the fish and out the bottom. Then slowly cut down to the end of the tail.
- Finish removing the fillet by cutting away the remaining meat over the rib bones.
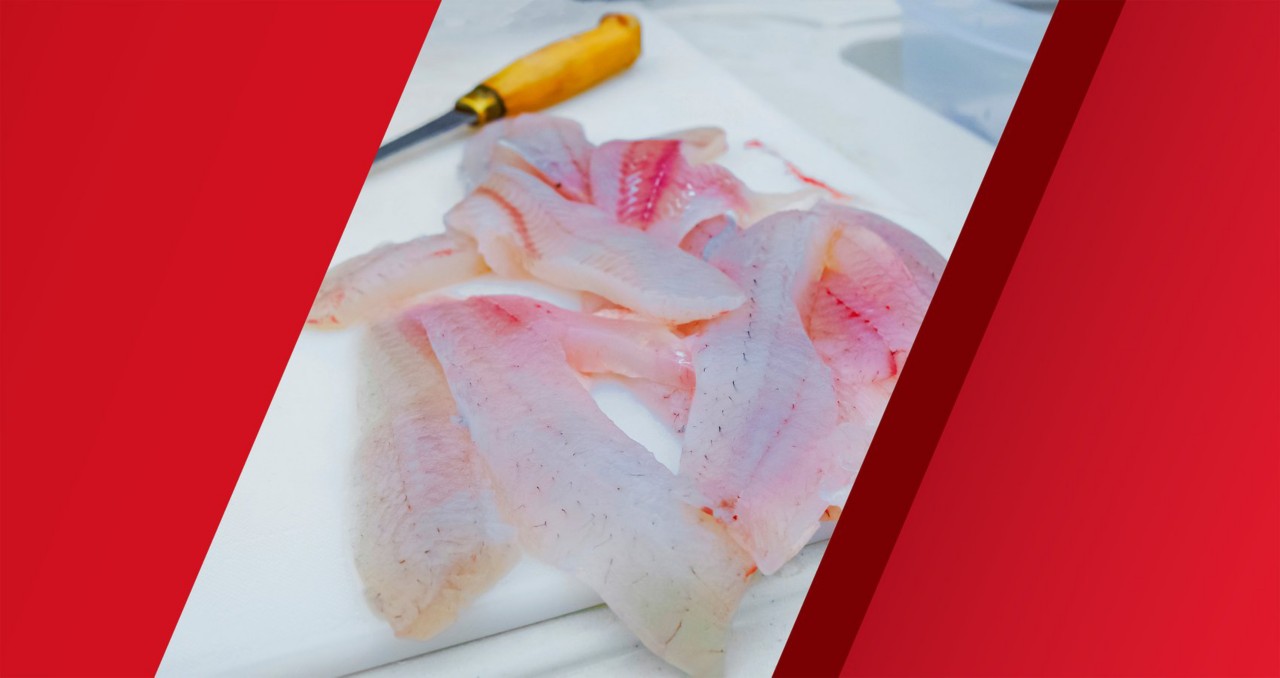
- If the fish was scaled, the fillet is now complete. If not, now’s the time to remove the skin. To do it, flip the fillet so the skin is down. Starting at the tail end of the fish, make an entry cut down to the skin. Keep the knife at a 20-degree angle and gently sweep it along the skin to remove the meat.
Now, turn the fish over and repeat these steps for the second fillet. Wash each fillet in cold water and check for any bones or scales.
Storage
Once the fish are cleaned, the fillets can be stored in the refrigerator for two to three days. Keep them in a sealed container, but don’t submerge them in water as many people suggest. The water can degrade the quality of the fillets.
Fillets can be vacuum-packed and frozen for six to 12 months, or even longer if the packaging remains intact. I’ve eaten plenty of frozen fish beyond a year old, but freezer burn becomes more of a concern as frozen foods age.
Dispose of the Carcasses
Have a plan for disposing the carcasses. It’s best not to put them in a trashcan in warm weather, and they shouldn’t be left in the trash for more than a day or two when it’s cold outside.
The guts can be bagged and frozen until trash day or taken to the dump. Or, fish carcasses are biodegradable, so they can be composted or disposed of in a nearby river or lake if regulations allow.
Final Thoughts
Our family enjoys a lot of fish fries together. Most times, several members of the family participated in providing the meal for the broader group, and there is a major sense of accomplishment and pride in watching the family enjoy a meal provided by those around the table.
Usually, if anyone needs a good reason or excuse to head back to the lake and catch more fish, the promise of a fresh fish dinner is pretty compelling.


