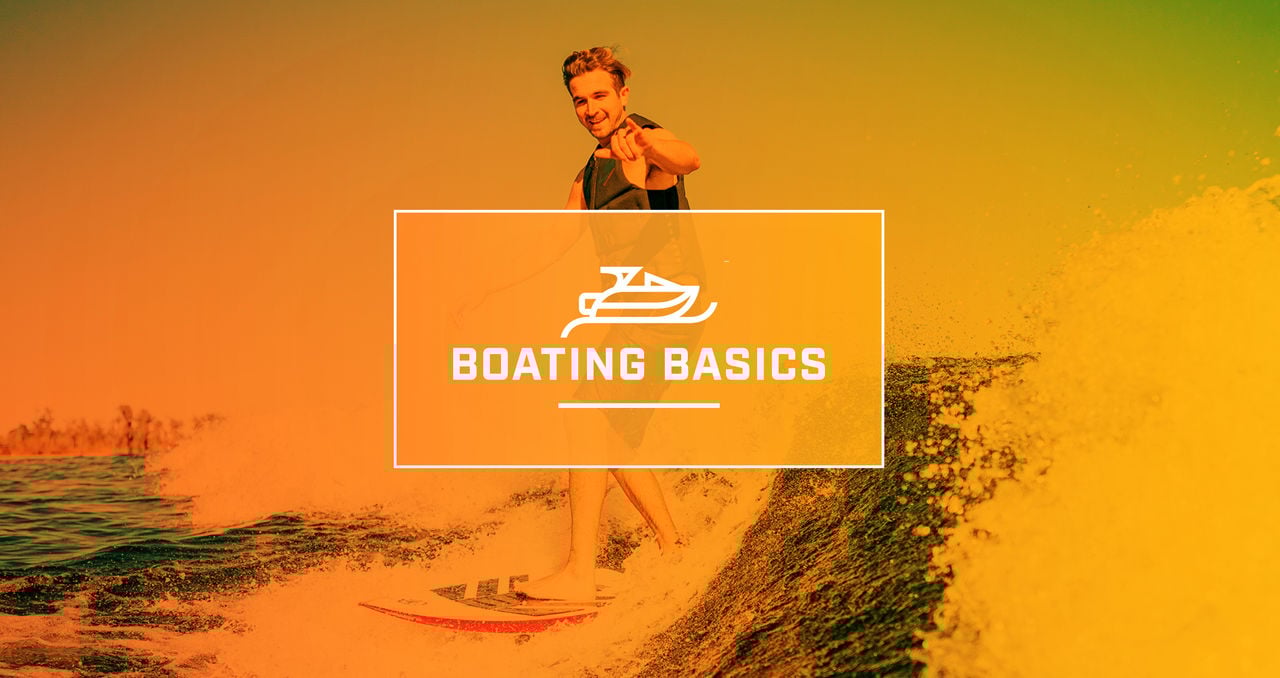
Get ready to ride. In the “Boating Basics Tow Sports” series, Mercury-powered pro wakeboarders Carro Djupsjö and Dylan Miller will walk you through everything you need to know to get started enjoying the thrill of wakeboarding and wakesurfing.
The fast-growing sport of wakesurfing appeals to many people because it recreates the thrilling experience of ocean surfing behind a boat, and you can enjoy it with friends. It’s similar to wakeboarding, but instead of riding a short, wide board and holding a tow rope, when you wakesurf, you’re on a board that resembles an ocean surfboard, riding without a rope. In this sport, the tow boat moves at slow speeds and creates a large surfable wake that mimics a natural wave and pushes you along.
According to Mercury-powered pro wakeboarders Carro Djupsjö and Dylan Miller, learning to wakeboard first can shorten the wakesurfing learning curve. But it’s not an absolute necessity to do so. Their six-step advice can help you learn to get up on the wave and surfing with confidence.
To see demonstrations of the steps outlined here, check out the video below.
Step 1: Choose the Right Wakesurfing Equipment
Safety comes first with any tow sport. You’ll need a U.S. Coast Guard-approved lifejacket that is the right size for you and appropriate for watersports.
Next, you need some surf-specific gear, starting with the wake surfboard. It looks like a short ocean surfboard, and there are no bindings to secure your feet.
You also need a wakesurf tow rope, which is used to get up on your feet when the boat starts moving. These are thicker and shorter than wakeboard ropes. Some of them feature knots along their length so the rider can choose how much to use. Their handles are not quite as wide as those for waterskiing or wakeboarding. In fact, some just use a knot or a cone at the end.
Attach your wakesurf rope at its longest setting. Assuming you’ll be surfing in a boat set up for the activity, you can attach it to either the center of the boat’s tower mount or one of the surf-specific tie-off points on the side of the tower.
Step 2: Get Ready for the Throttle
With your gear ready, get in the water and position your board between you and the boat, keeping the nose of the board pointed to whichever side you want to ride. This usually depends on which foot you have forward on the board.
“If you’re ‘left-foot forward’ – also known as ‘regular,’ like me – you’ll want it pointed to the left, which is the port side of the boat,” said Djupsjö. “If you’re ‘right-foot forward’ – also known as ‘goofy’ – you’ll want it pointed to the right, which is referred to as starboard.”
If you’re not sure which is your lead leg, think back to any previous experiences with skateboarding or snowboarding. You also can have a friend give you a gentle push on the back. The leg that steps forward first is most likely your lead leg.
Put your feet on your board with your heels close to the edge nearest you (appropriately called the heel-side edge). Point your toes skyward, which will allow the board to float up and push against the bottom of your feet when the boat moves.
Step 3: Get Up on the Surfboard
If you’ve tried wakeboarding, you may notice that getting up on a wake surfboard feels a lot like getting up on a wakeboard. Keep your arms out in front of you with your knees bent, and let the boat do the work.
First-timers who find themselves having trouble usually are trying to use their arms to pull themselves up, or they’re straightening their legs too early. If you want to practice on shore first, sit on the ground and have a friend pull you up by your hands. Notice how much easier it is when you keep your legs bent.
Once you’re up, you’ll want to quickly edge out to the side you’ve chosen – beyond the port or starboard wake – before the tow boat is fully up to speed. It’ll be a much smoother experience.
“If you hesitate, it could make for a bumpy ride in the middle of the rooster tail,” added Miller.
Step 4: Find Your Sea Legs
Although it might be tempting to drop the rope so you can start surfing quickly, give yourself time to learn how to ride the board first. That means staying away from the wave behind you and practicing slowly turning back and forth.
As you feel more comfortable, you can drop your back hand, keeping your lead hand on the handle. Now you’re ready to work your way back over to the wave and find the sweet spot for surfing.
Be sure to give your driver and spotter a thumbs-up when you’re ready.
Step 5: Surf in the Sweet Spot
“The main goal as a beginner wakesurfer is to remain in the sweet spot as long as possible,” Miller said. “This is the clean section of the wave with the least amount of white water.”
You’ll know you’ve found the sweet spot when you feel the wave pushing you toward the boat.
If you’re too close to the boat, apply pressure to your rear foot. That’s your brake. If you feel that you’re losing push and moving too far away, apply pressure to your front foot. That’s your gas pedal.
Step 6: Time to Surf!
When you feel relaxed and comfortable on your surfboard and you can remain in the sweet spot without relying on the rope, it’s time to toss the handle. Just be sure to toss it to the other side of the wave, well out of your way.
To surf as long as possible, take the time to explore the wave. Move from side to side, and pay attention to how the board feels and how it reacts. This will give you a variety of experiences in one long ride and help you learn quickly.
Wakesurfing might seem tricky at first, but keep practicing. As Djupsjö says, “If you stick with it, we promise the juice will be worth the squeeze!”