Even in the nastiest weather, during the longest days, a Mercury ProKicker motor is your most reliable fishing partner. Expertly tuned for elite trolling performance.


- Get7
- Repower
- Parts
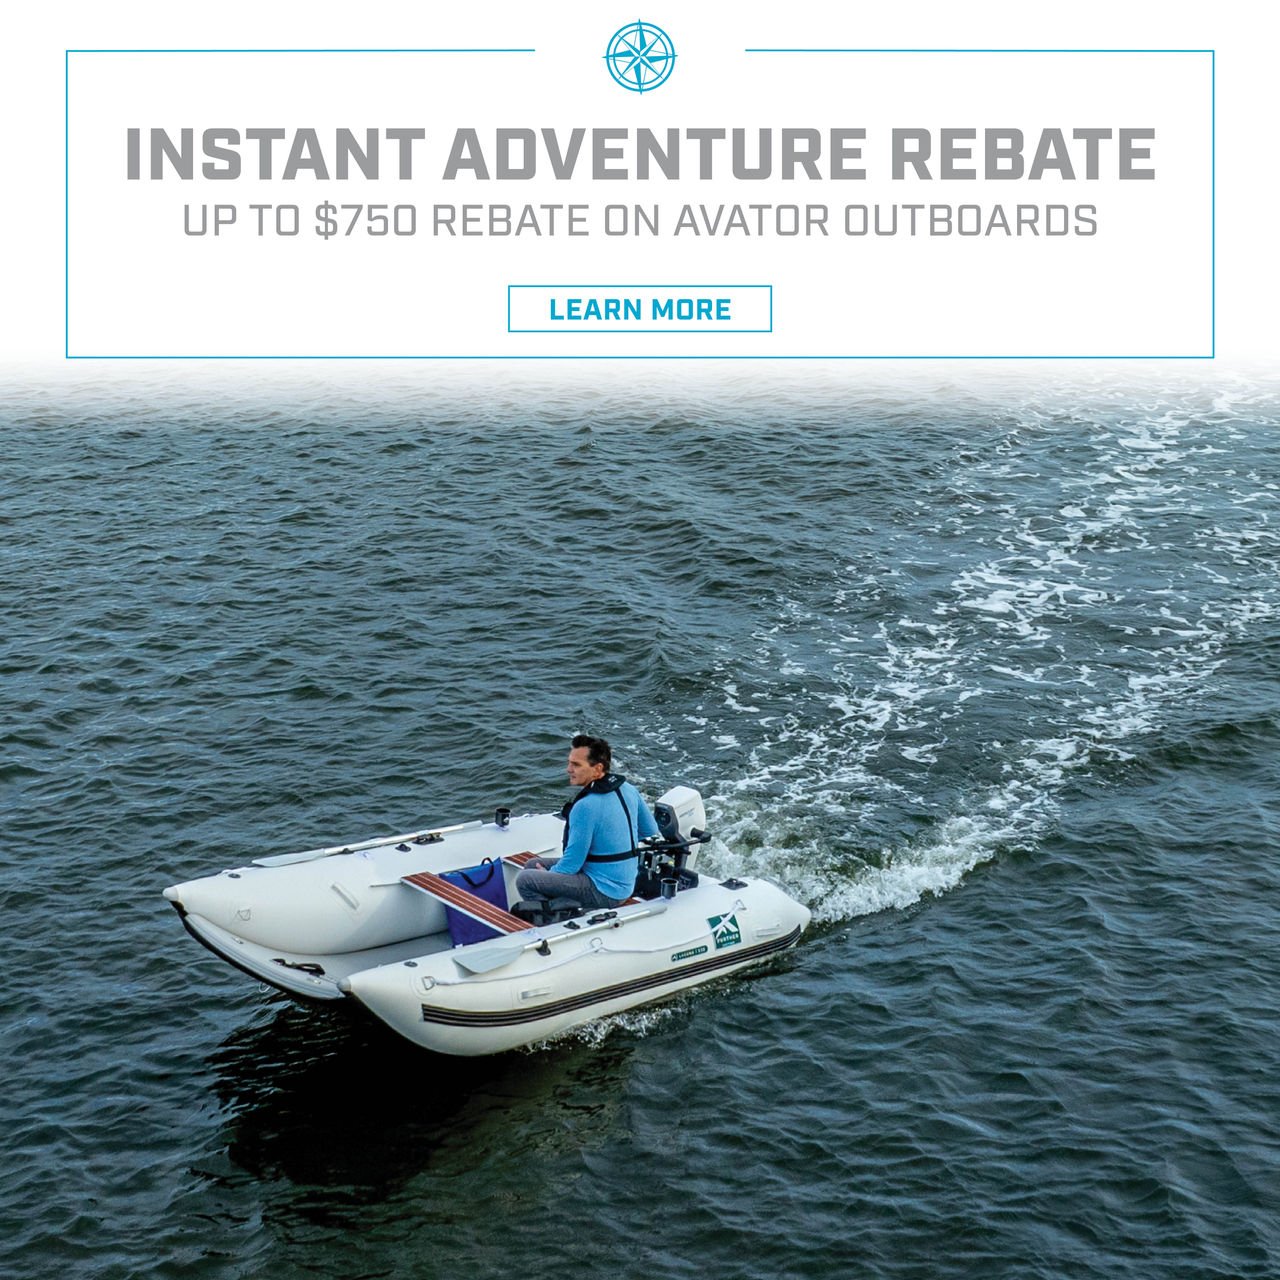
- AvatorRebate
- PortablesRebate


- Get7
- Repower
- Parts
- AvatorRebate
- PortablesRebate
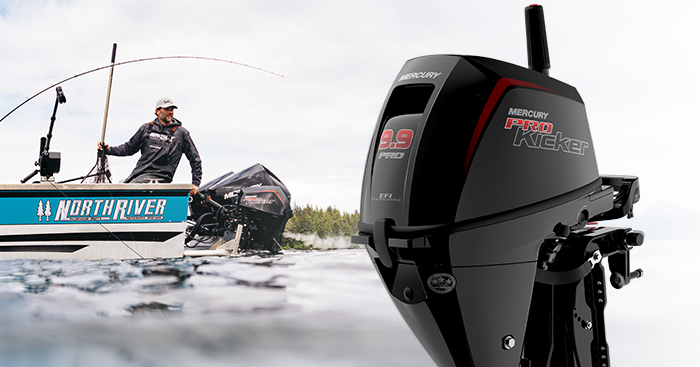
Catch More with ProKicker
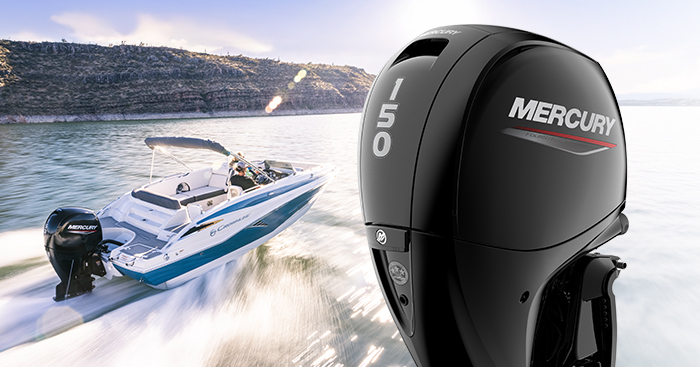
Explore More with FourStroke
Heavy on performance and light on weight, Mercury FourStroke outboards are built to power you toward new destinations and discoveries.
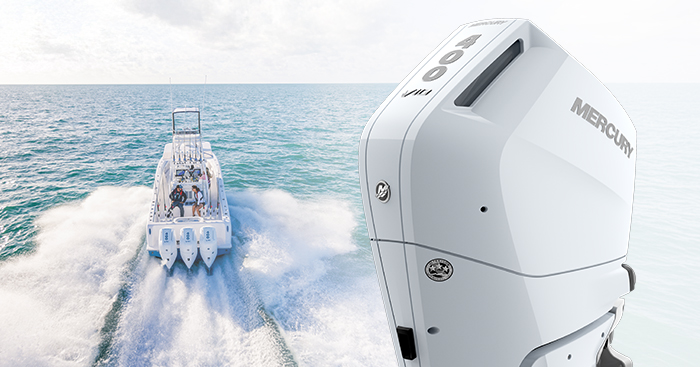
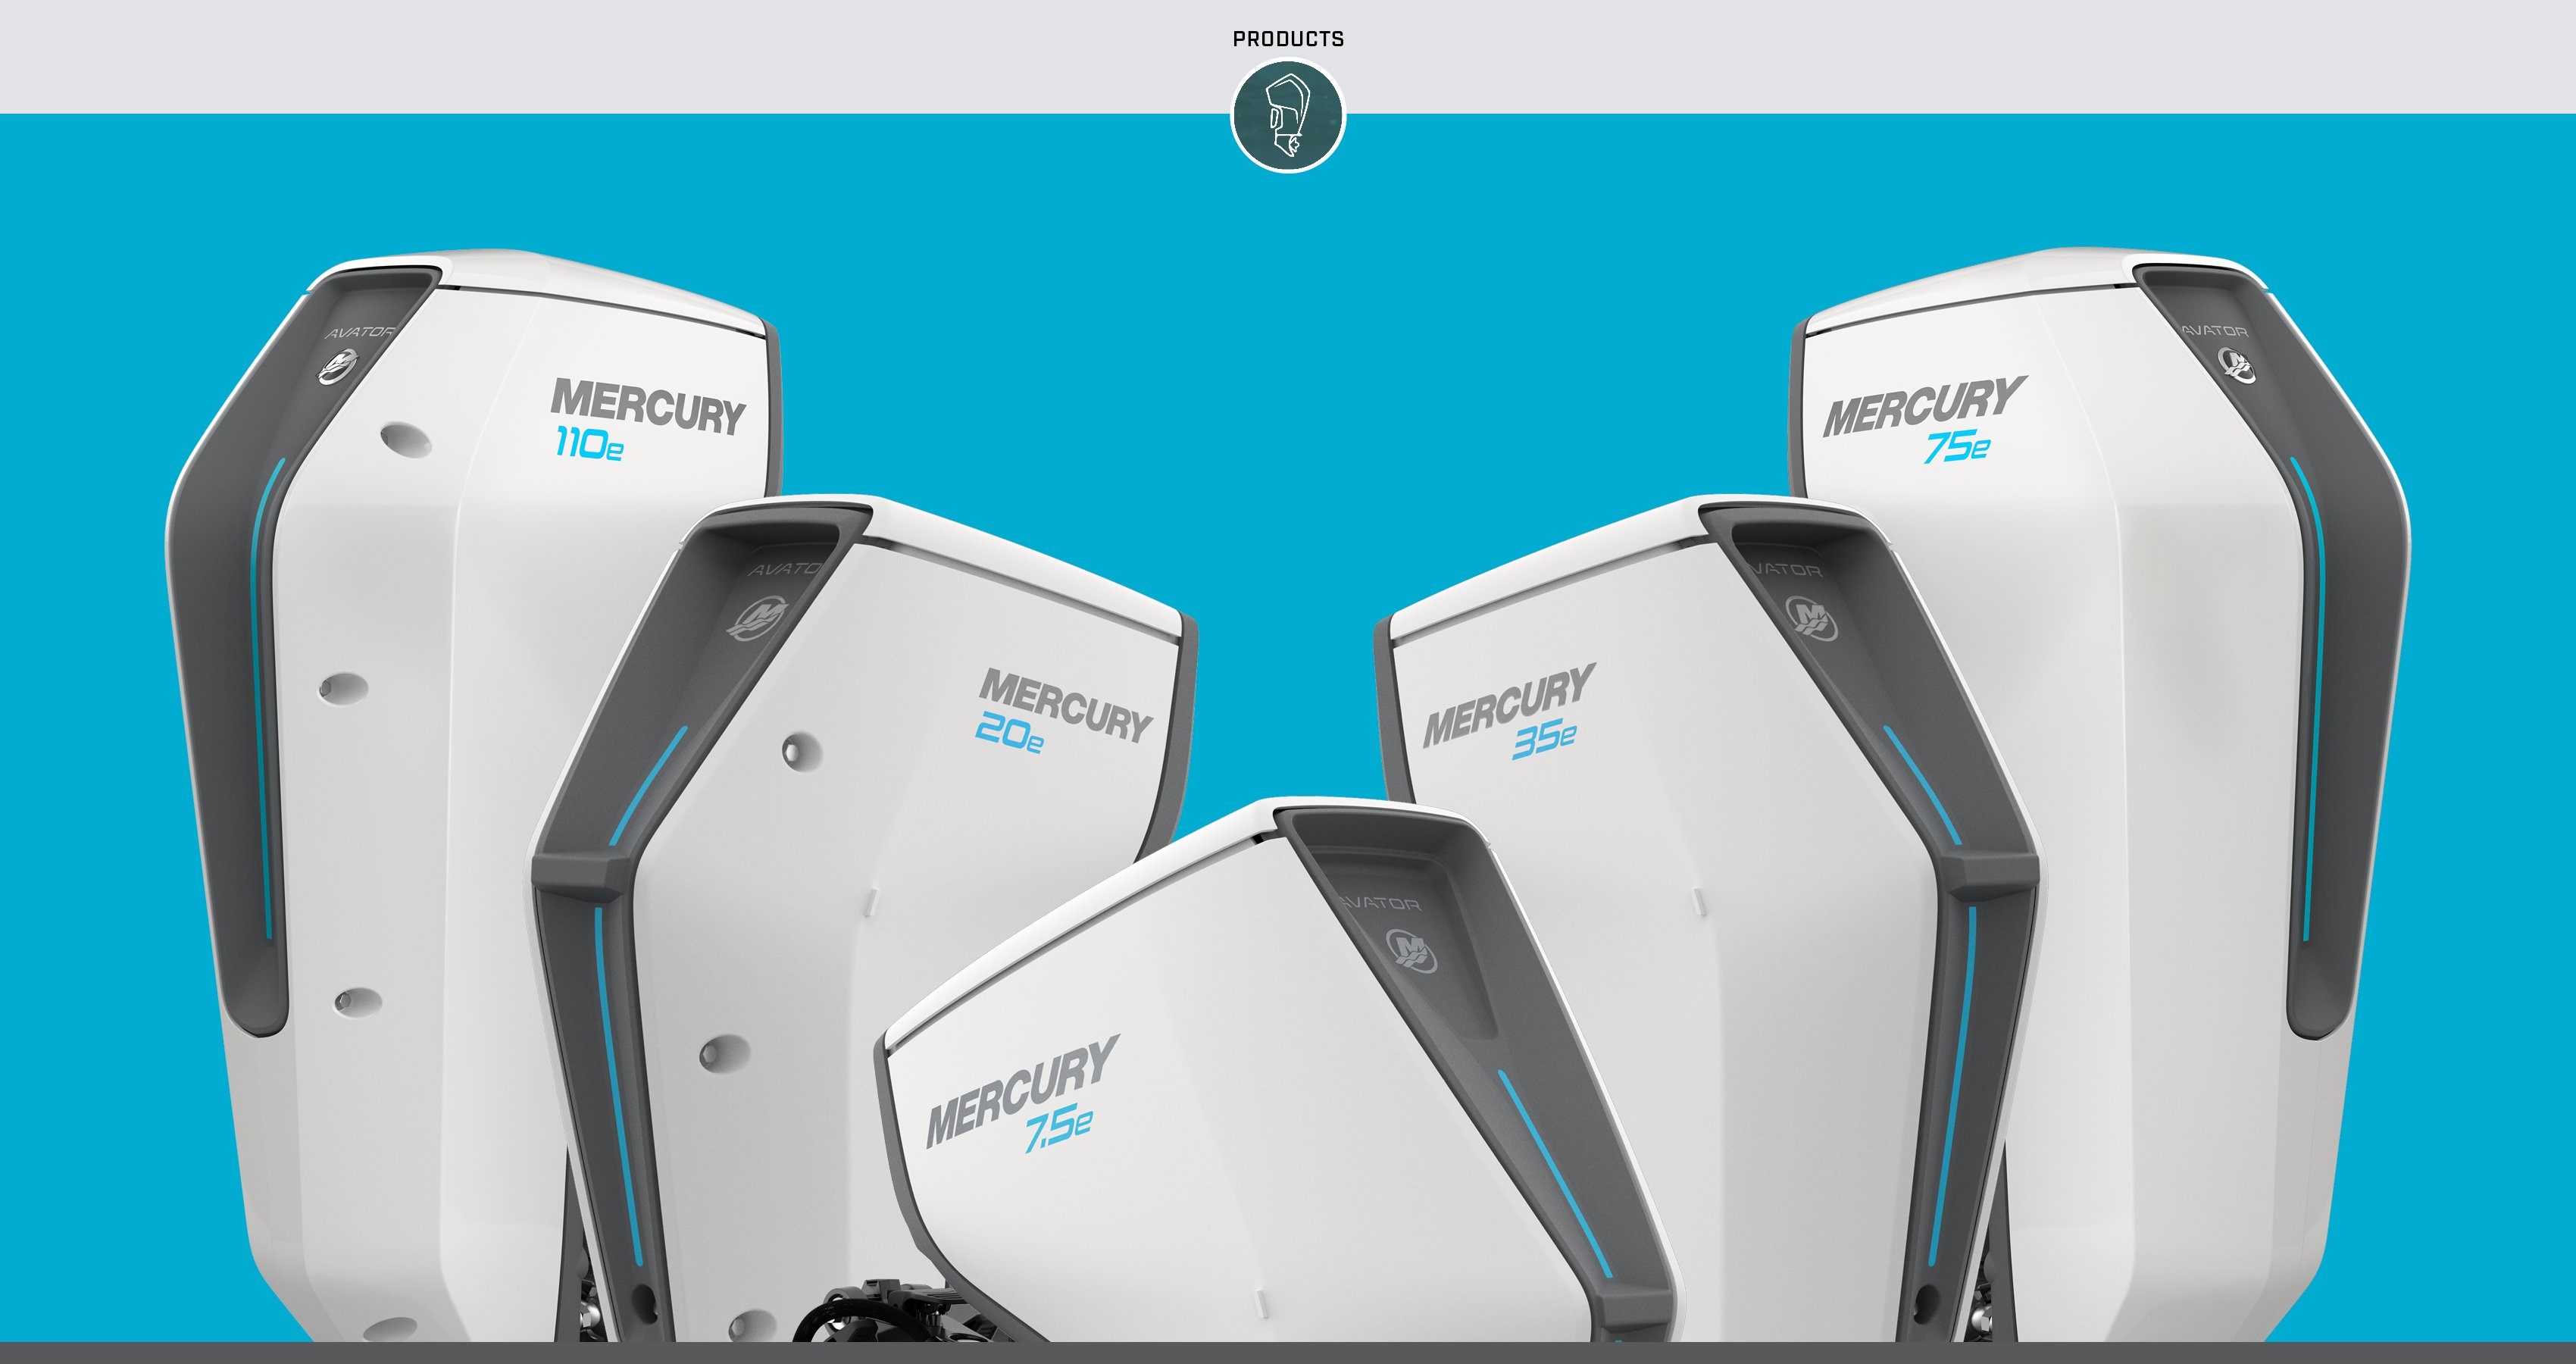
Verado: More Intelligent Power
Verado keeps you focused on fishing, monitoring battery power for you and automatically increasing idle rpm when needed to boost charging output.
Get Mercury News, Tips and More
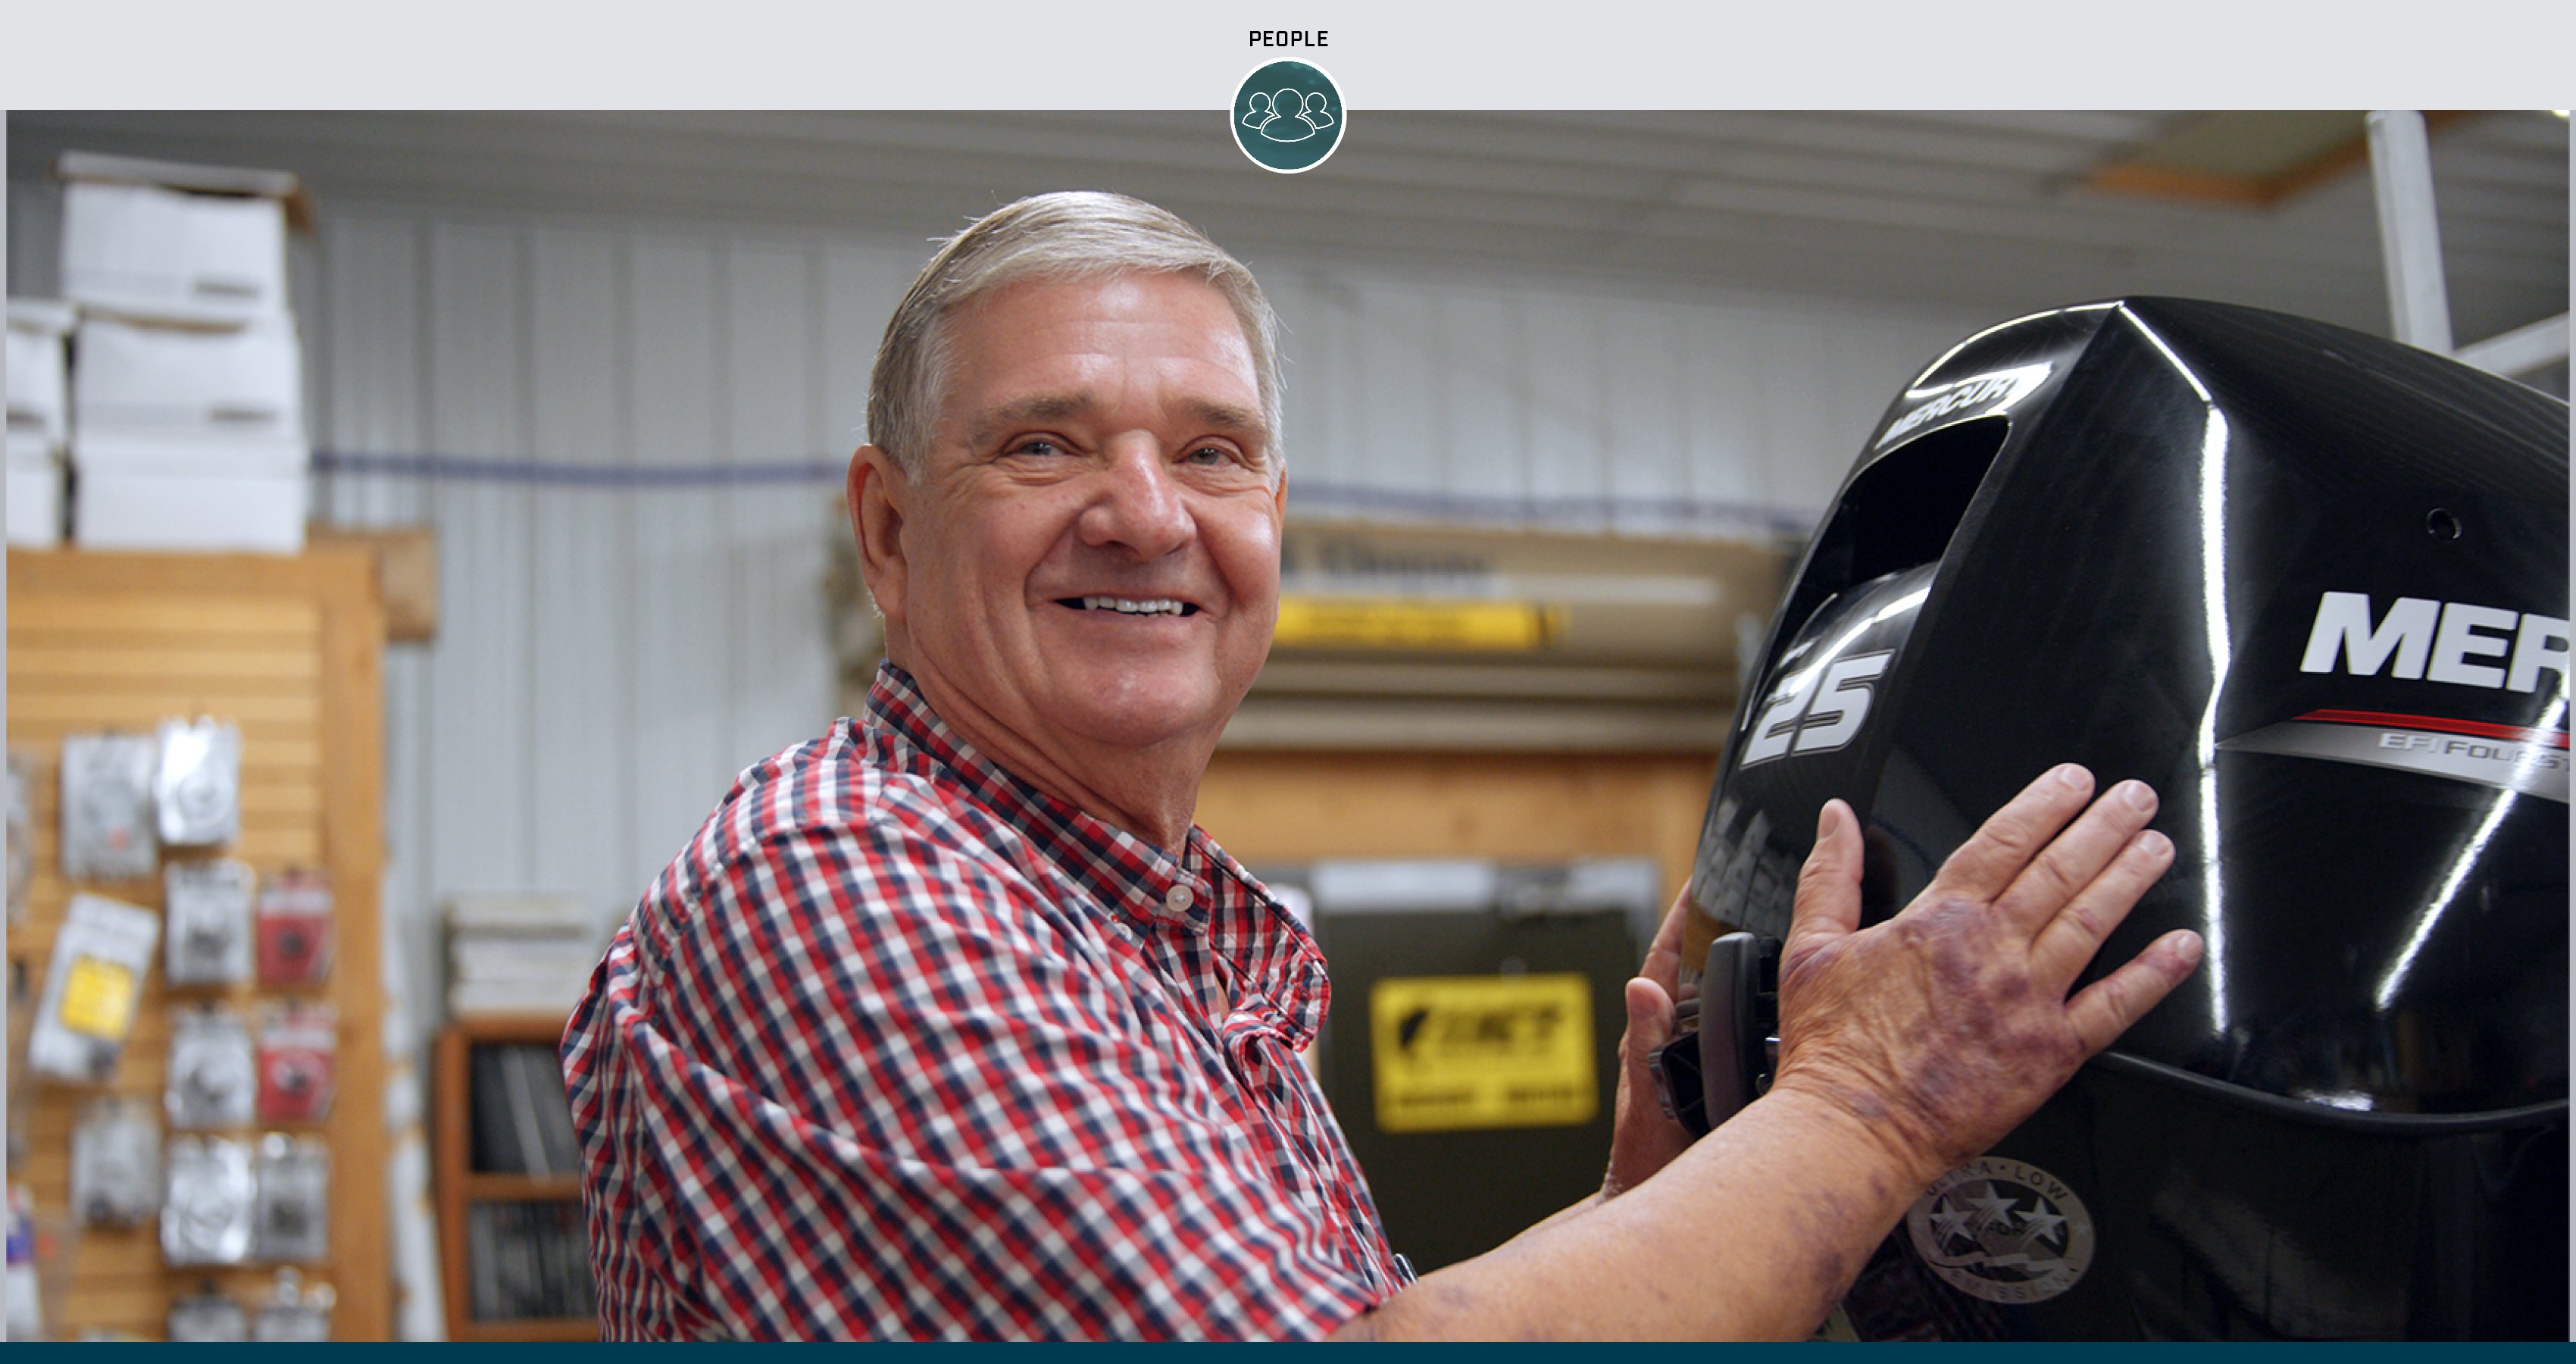

Mercury Makes Maintenance Easy
Whether your season is coming to an end or if you’re still enjoying time on the water, your local Mercury Authorized Dealer has the genuine parts and expert service you need to keep your boat in prime condition.
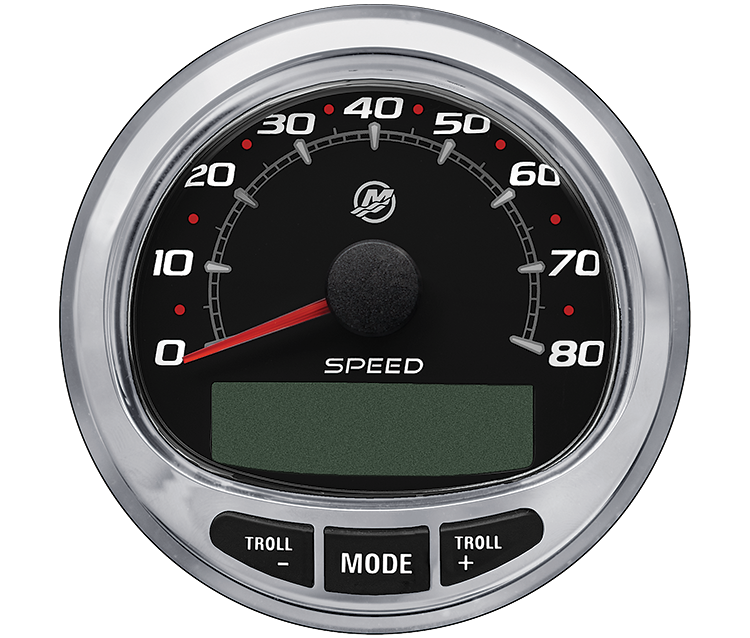
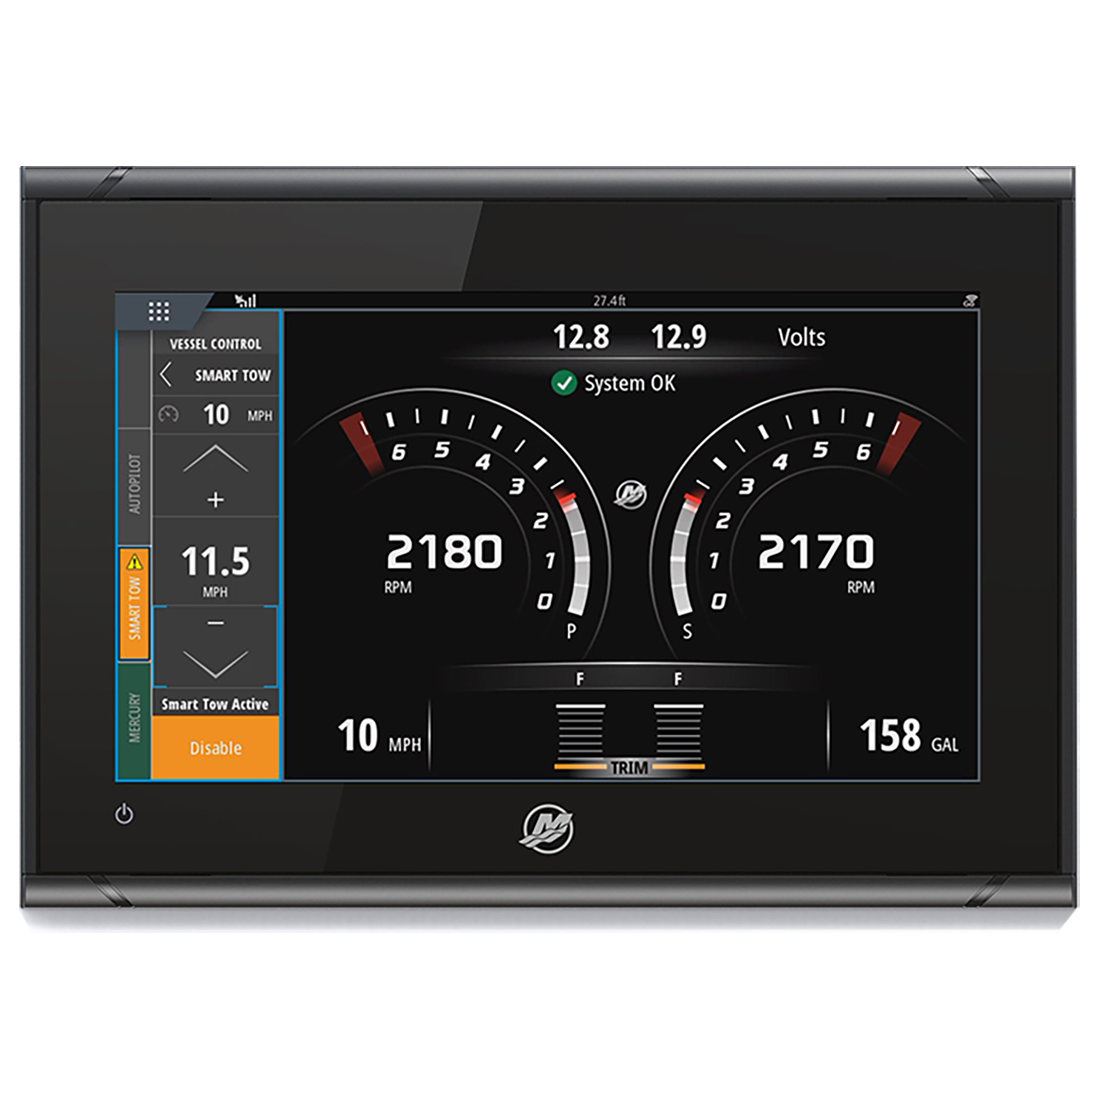
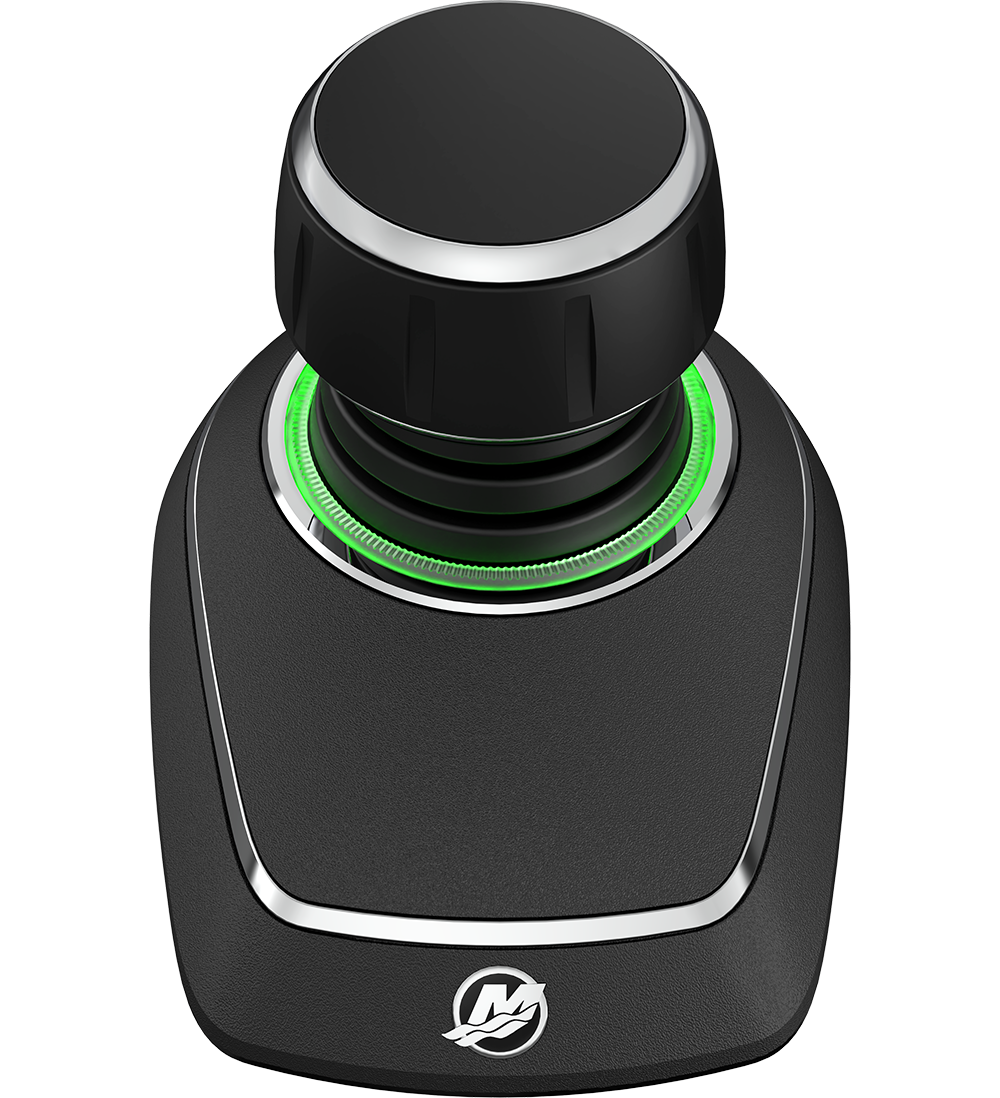
SmartCraft® The Power to Do More
Mercury SmartCraft® digital technologies refine the entire boating experience to ensure every day on the water reaches its full potential. From intelligent gauges and displays to advanced systems that make boat control easy, SmartCraft gives you the power to do more with your time on the water.
SmartCraft compatibility is available for Mercury engines 2004 and newer, 40hp and above; 2022 and newer, 25hp and above. Features vary based on controls and engine models.

Performance Data
Mercury engines are designed and tested to provide the highest performance and most enjoyable boating experience possible. Boat House Bulletins provide detailed performance information about Mercury engines on a wide range of boat types and brands, straight from a source you can trust: Mercury Marine.
Warranty & Product Protection
Mercury makes world-class marine products backed by world-class warranties. You can also add a Mercury Product Protection (MPP) extended service contract that covers certain expenses caused by defects in materials and workmanship after the Mercury Limited Warranty expires.
Sustainability Report
In achieving our current sustainability goals, and in planning for more accomplishments in the future, we will continue to lead the way as we engage with partners and the communities where we do business. With ambitious sustainability targets to hit in 2025 and 2030, Mercury continues to push forward with a commitment to achieving our vision of sustainability and leading by example.