Silent, smooth and easy to maneuver, this trolling motor sneaks up on the fish while making you take notice.


- MM Promotions
- Mercury Means More
- Repower
- Revive My Rig
- Summer P&A Campaign


- MM Promotions
- Mercury Means More
- Repower
- Revive My Rig
- Summer P&A Campaign
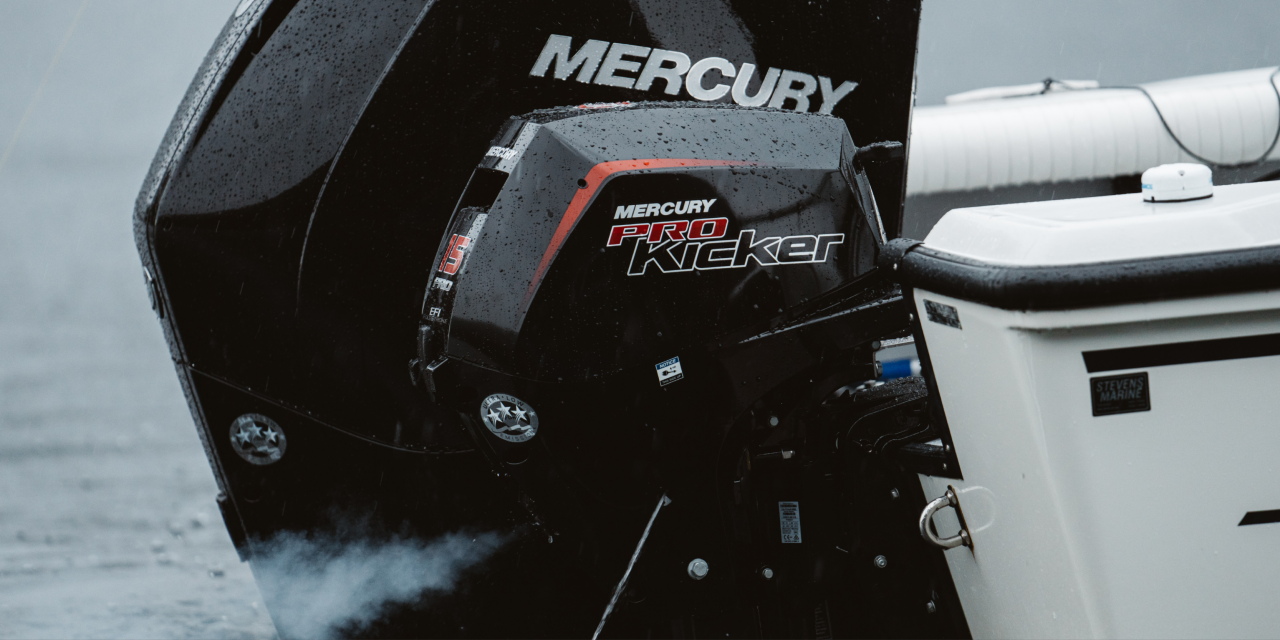
ProKicker: Calm and Controlled
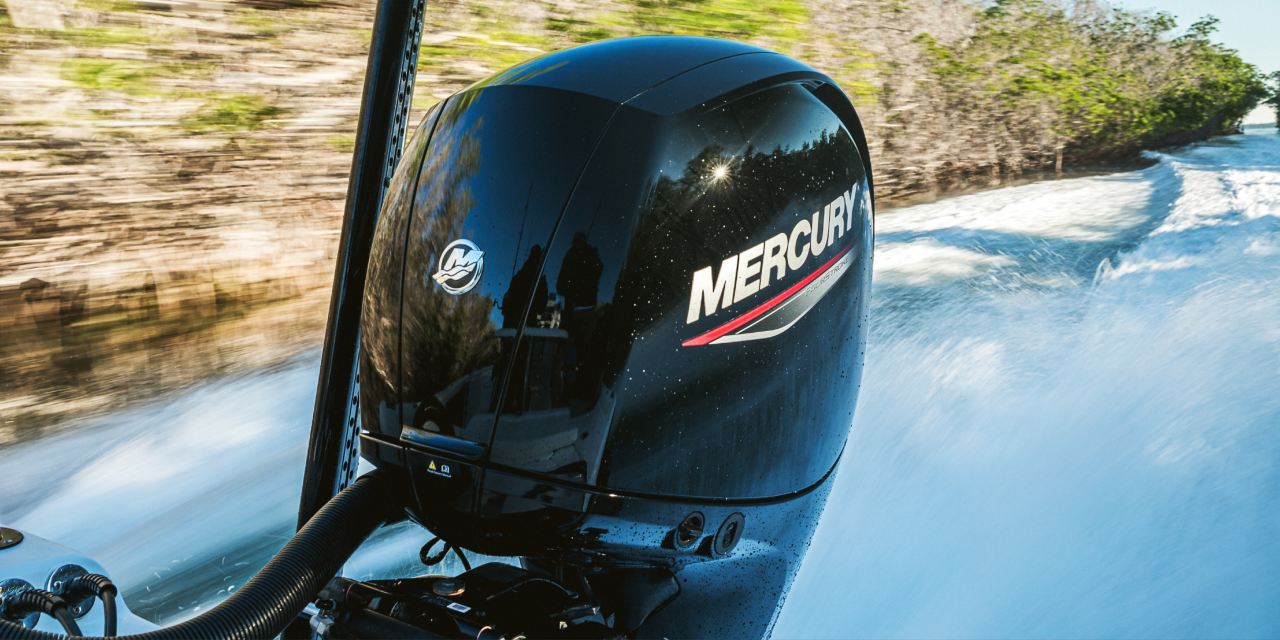
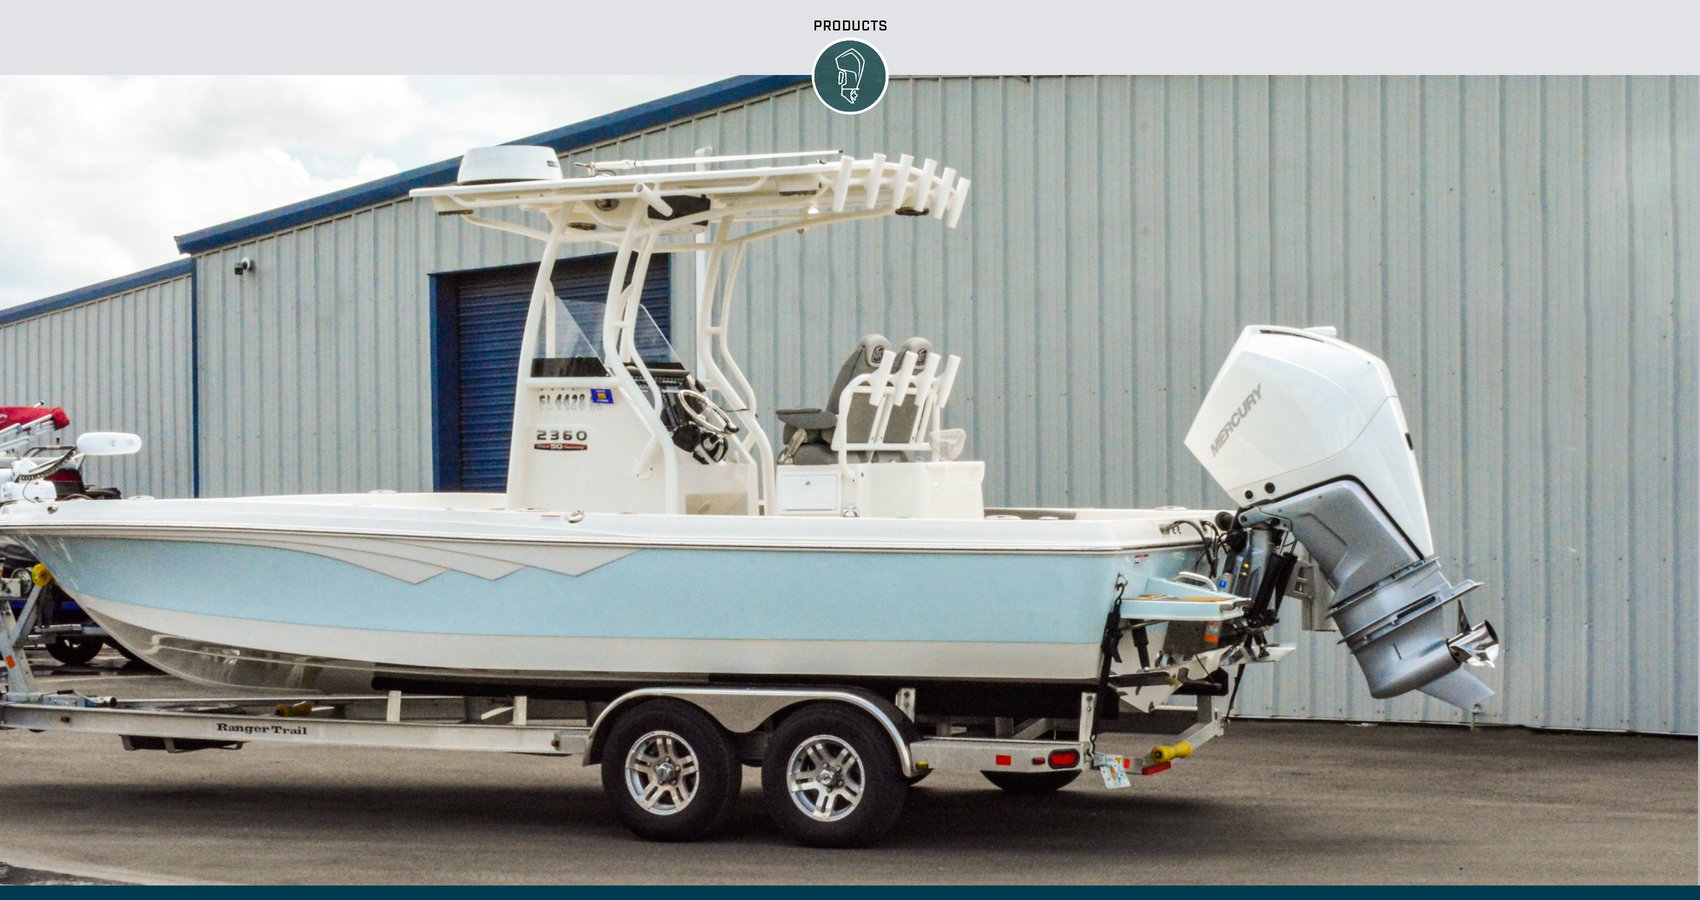
FourStroke: Efficient and Lightweight
High on quality, low on maintenance, engineered to enhance any boat and built for the extra miles ahead.
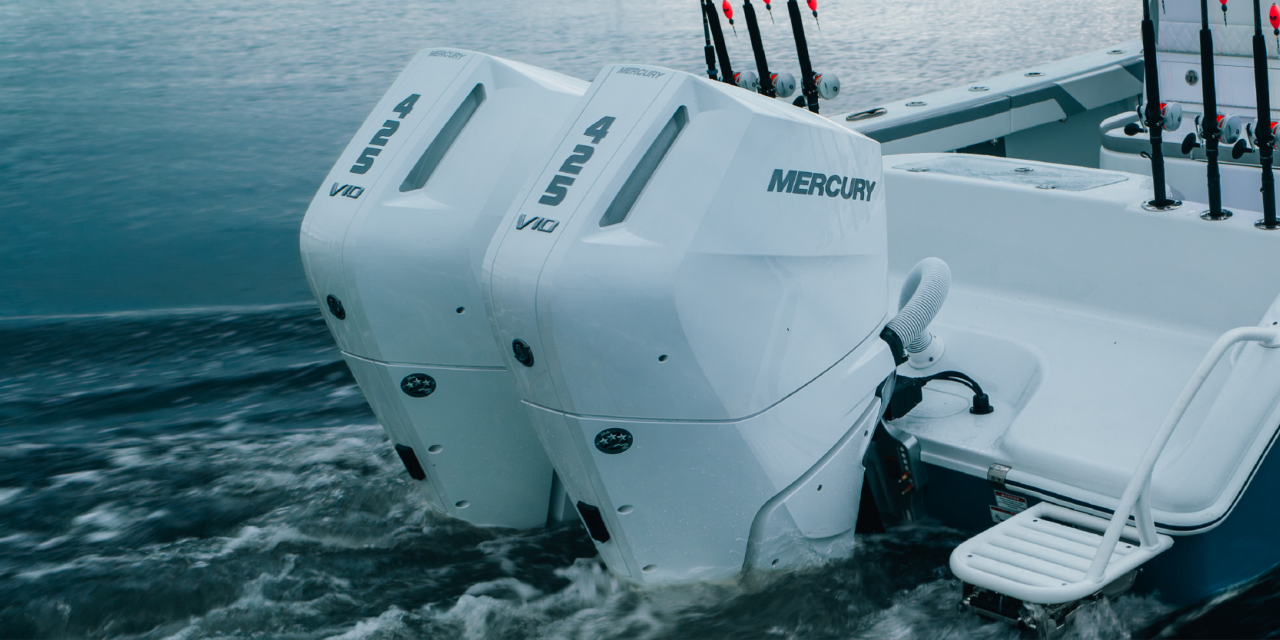
Verado: Powerful and Refined
Polished in every aspect, the Verado has superior strength, impressive acceleration, and noise reduction technology that deliver’s an exceptional on-water experience.
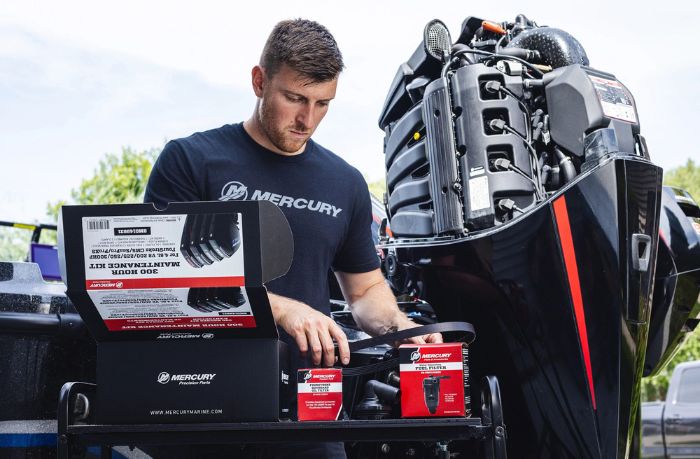
Other Parts Don't Really Know Your Engine
Easily find the parts that are designed and guaranteed to work with your Mercury.
Get Mercury News, Tips and More
SmartCraft® The Power to Do More
Mercury SmartCraft® digital technologies refine the entire boating experience to ensure every day on the water reaches its full potential. From intelligent gauges and displays to advanced systems that make boat control easy, SmartCraft gives you the power to do more with your time on the water.
SmartCraft compatibility is available for Mercury engines 2004 and newer, 40hp and above; 2022 and newer, 25hp and above. Features vary based on controls and engine models.


Performance Data
Mercury engines are designed and tested to provide the highest performance and most enjoyable boating experience possible. Boat House Bulletins provide detailed performance information about Mercury engines on a wide range of boat types and brands, straight from a source you can trust: Mercury Marine.
Warranty & Product Protection
Mercury makes world-class marine products backed by world-class warranties. You can also add a Mercury Product Protection (MPP) extended service contract that covers certain expenses caused by defects in materials and workmanship after the Mercury Limited Warranty expires.
Sustainability Report
In achieving our current sustainability goals, and in planning for more accomplishments in the future, we will continue to lead the way as we engage with partners and the communities where we do business. With ambitious sustainability targets to hit in 2025 and 2030, Mercury continues to push forward with a commitment to achieving our vision of sustainability and leading by example.