One of the best things about the lineup of low-horsepower FourStroke outboards from Mercury – those rated at 20hp and below – is their portability. Weighing between 41 pounds (2.5/3.5hp) and 99 pounds (20hp), they’re easy to install and remove and can easily be carried by one or two people, so you have the option of storing them safely away in your garage or a small shed for the winter or even between outings.
And if you do just a tiny bit of prep work, these compact but mighty engines can go from your storage location to your boat and back again in just a few minutes, which gives you the freedom to hit the water with just a moment’s notice. In this Mercury Quick Tip Video, we’ll show how to get your boat ready for a fast and sure motor installation every time. All you need is a tape measure, a permanent marker and a padlock.
Note: Always consult your operation, maintenance and installation manual as the procedure may vary slightly by model. The following instructions should be largely applicable to all Mercury outboards 20hp and below.
- Check your boat’s certification plate to ensure that your engine does not exceed the maximum horsepower rating listed.
- Measure the full width of the top of your transom and find the center by dividing the total width by two. Mark the center with a small dot with your marker. Then measure the distance from each side to your mark to ensure that they are equal, indicating that you have in fact found the center. Once the center is confirmed, mark it a little more clearly (but carefully) so that you can easily see it each time you go to install your engine.
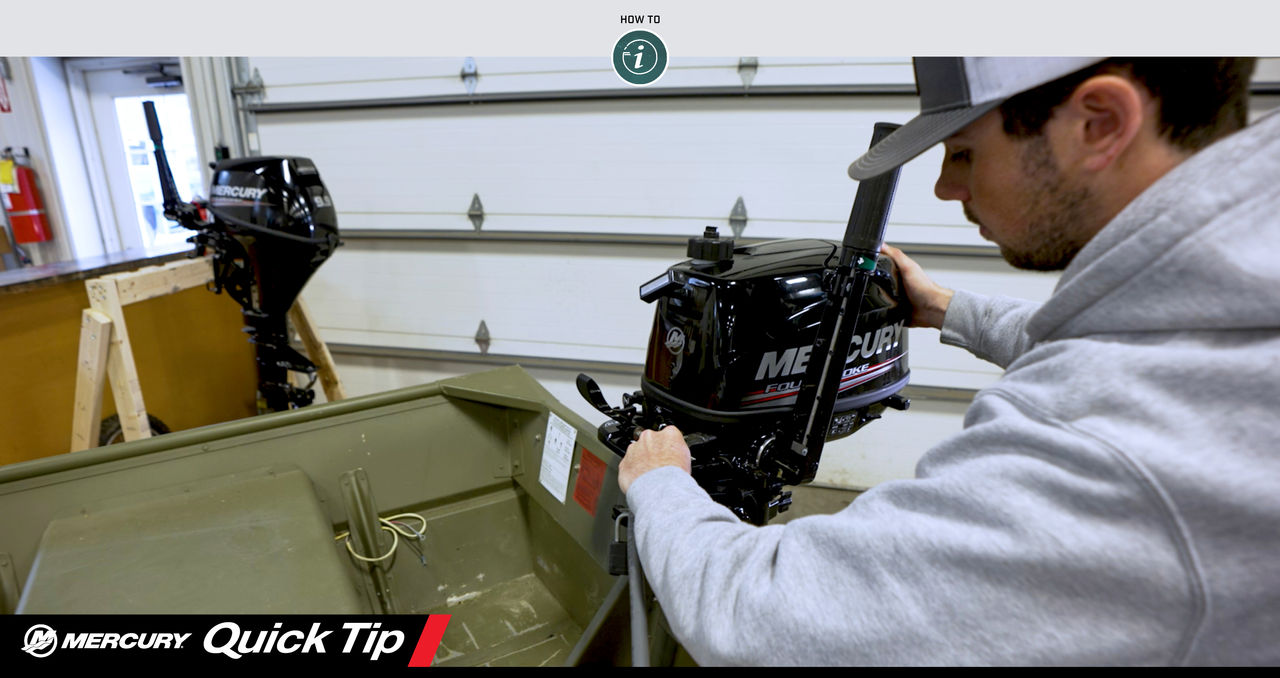
- Make sure the clamp screws on the front of your engine’s transom bracket are loosened as far as they can go, then hang your outboard on the transom. Both sides of the transom bracket should be resting on the top of the transom.
- Find your center mark, and adjust the outboard side to side until the mark is squarely in the center of the two sides of the bracket. You may have to get into the boat to ensure proper alignment.
- IMPORTANT: The clamp screws must be firmly tightened to secure the engine to the boat. Using the handle on the head of each clamp screw, tighten one screw until it’s barely snug, then do the same with the other one. Continue alternating between each screw, tightening just a little each time, which will help promote even pressure and good, secure fit. The clamping screws are tight enough when they can no longer be turned any further without extraordinary effort. You can check your work by physically trying to lift or otherwise move the outboard; it should remain solidly in place on the transom. Make sure you finish tightening with the handles in a roughly horizontal position.
- Turn your handles inward so the holes in them line up (you may have to slightly tighten or loosen one or both of them to allow them to line up properly). Insert your padlock through the hole in each handle and secure. This will help deter theft, as well as inadvertent loosening of the screws over time.
If your engine has an integrated fuel tank, you’re ready to go to the lake. Once you get to the water, follow the starting procedures in your operation, maintenance and installation manual, including opening the fuel valve and properly venting the tank.
If your boat is equipped with a portable fuel tank, set the tank into position in the boat and attach the fuel line’s quick connector to the corresponding inlet on the engine. Then follow the start procedure steps once it’s time to start the engine. For the 5hp Propane outboard, follow the instructions for connecting a propane cylinder and starting the outboard, as outlined in the manual.
A Few Additional Tips
If you’ve never done so, with the engine in the vertical position, check to see where the anti-ventilation plate on the outboard is in relation to the bottom of the boat. For most engines, the plate should be an inch or two below the bottom of the boat. If it’s not, contact your local Mercury Marine Authorized Dealer to confirm that your outboard’s shaft length is appropriate for your boat.
Removing the engine and transporting it is simple as well. You can see the process here.
Now, go enjoy the benefits of portability. Mercury low-horsepower FourStroke outboards are small enough to transport easily and pack the power and reliability