When you think of outboard engine covers, you’re probably thinking about the kind used for storage. But what about protecting your cowl while you’re on the water?
After all, that’s where your engine will get exposed to errant fishing lures and rods, tow ropes, tree branches, toothsome fish and the relentless rays of the sun. Fortunately, Mercury has your back there, too.
Mercury Vented Splash Covers are model-specific and engineered to protect the outboard’s factory finish from all of the things that might scratch, ding or fade it. They’re built from Polysoft II, a marine-grade fabric that is tough on the outside and soft on the inside to keep your cowl looking showroom-new for years to come. Each splash cover’s seams perfectly match the angles and contours of the cowl, and are vented in just the right places, so there’s no effect on the performance or operating temperature of the engine. The fabric is 95 percent waterproof and 5 percent breathable so it will effortlessly shed water, even in the roughest conditions, while allowing any moisture that might get underneath to dissipate. The tailored material has just enough stretch so that once it’s properly installed, it will remain securely in place without the need for any snaps, straps or other fasteners.
Mercury Vented Splash Covers are available for practically any Mercury Outboard in operation, and feature the latest Mercury decals to match the engine model and horsepower selected, so your engine will look virtually the same with and without the cover. Mercury Vented Splash Covers are warrantied for two years against rotting and fading.
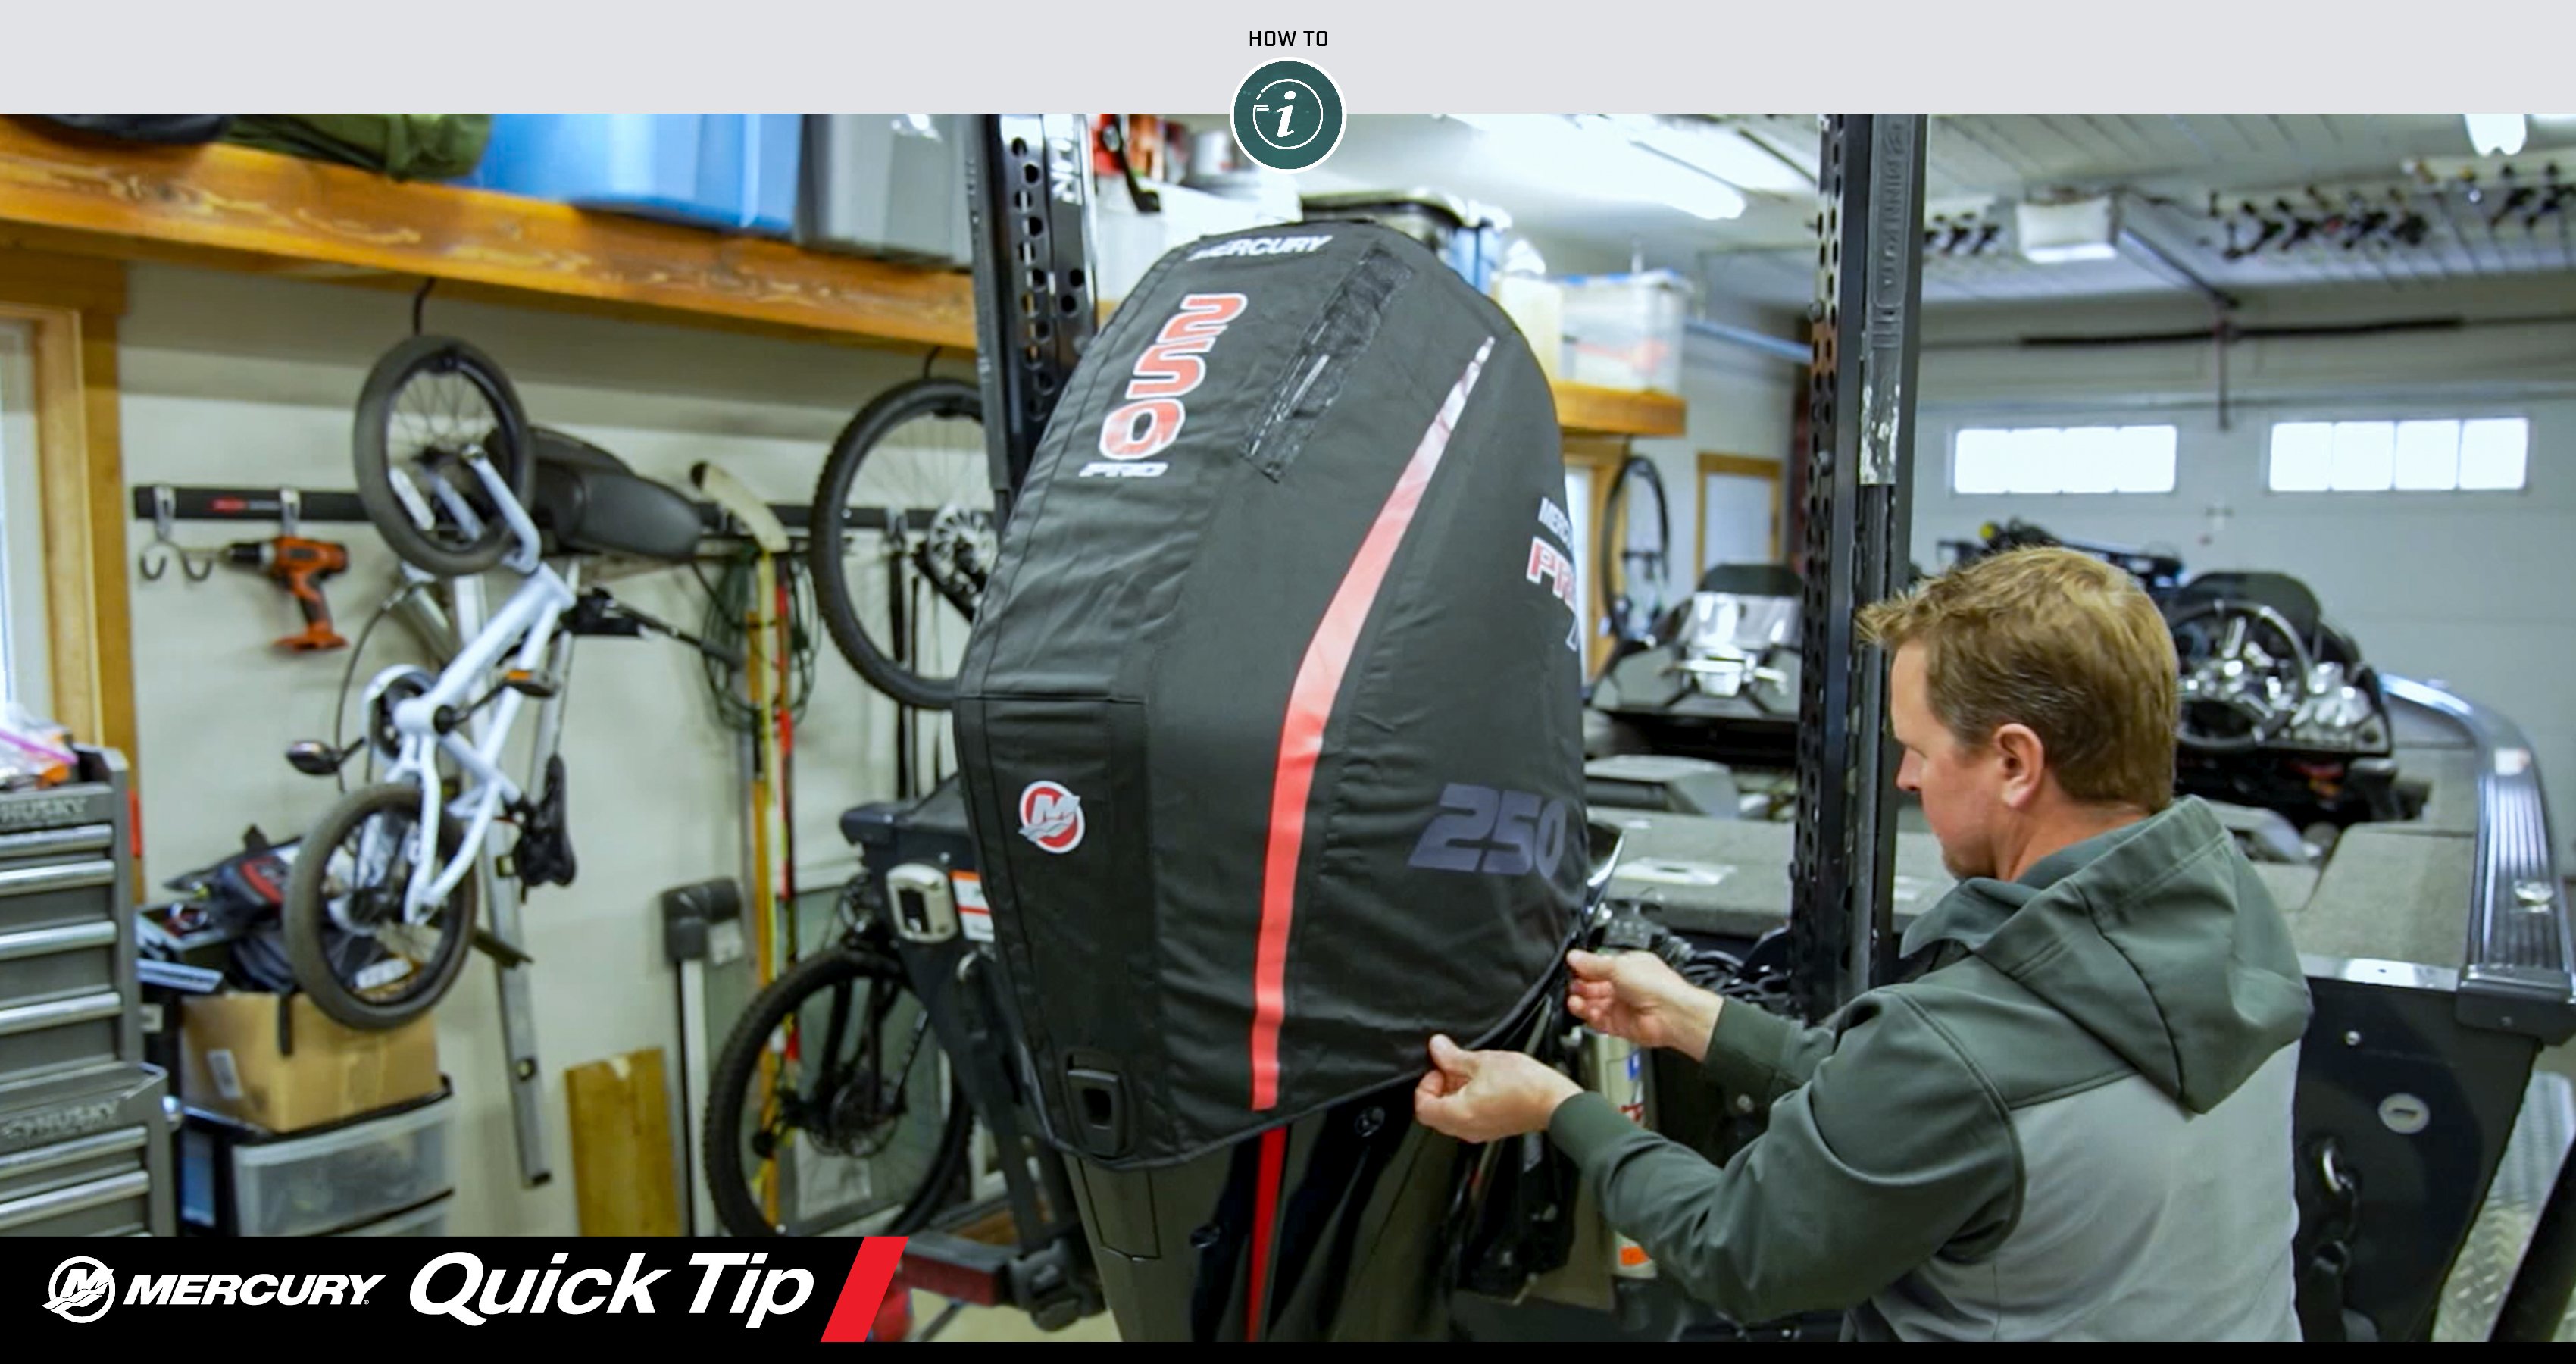
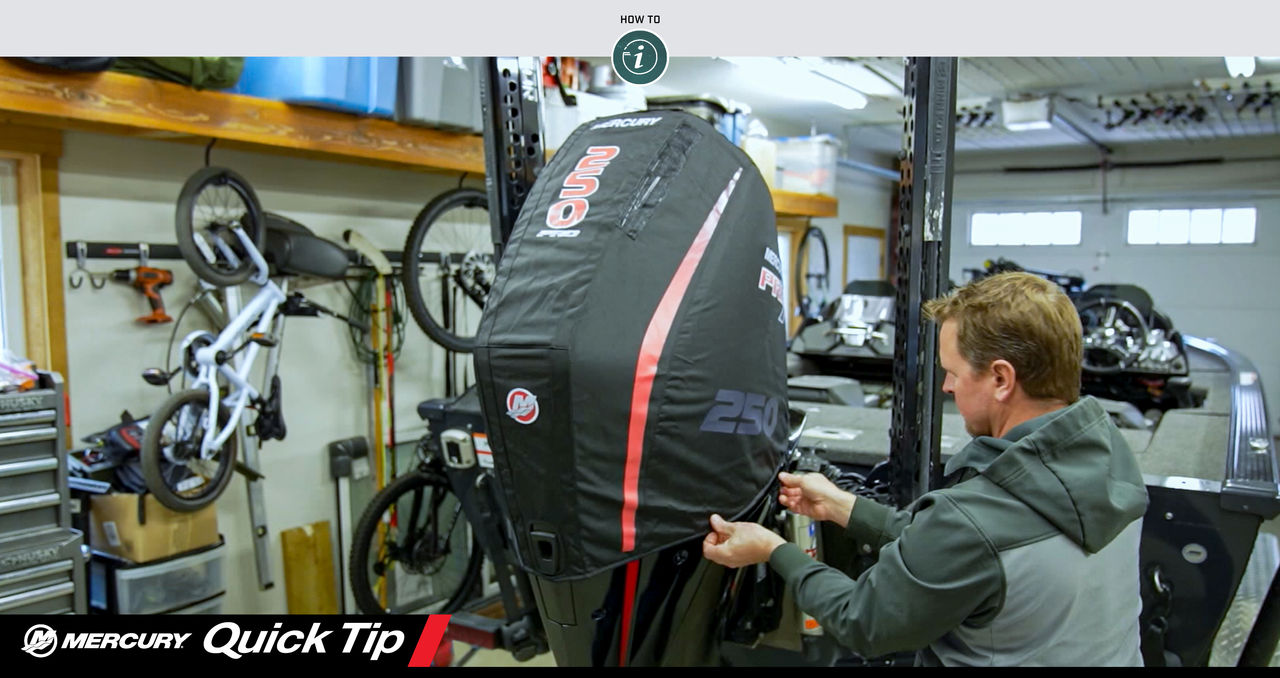
In this Mercury Quick Tip Video, we’ll show you how to install your splash cover in just a few minutes. The job can be done alone, but it can be quicker and easier to do with a helper, particularly the first time.
Supplies
- Appropriate Mercury Vented Splash Cover model for your outboard
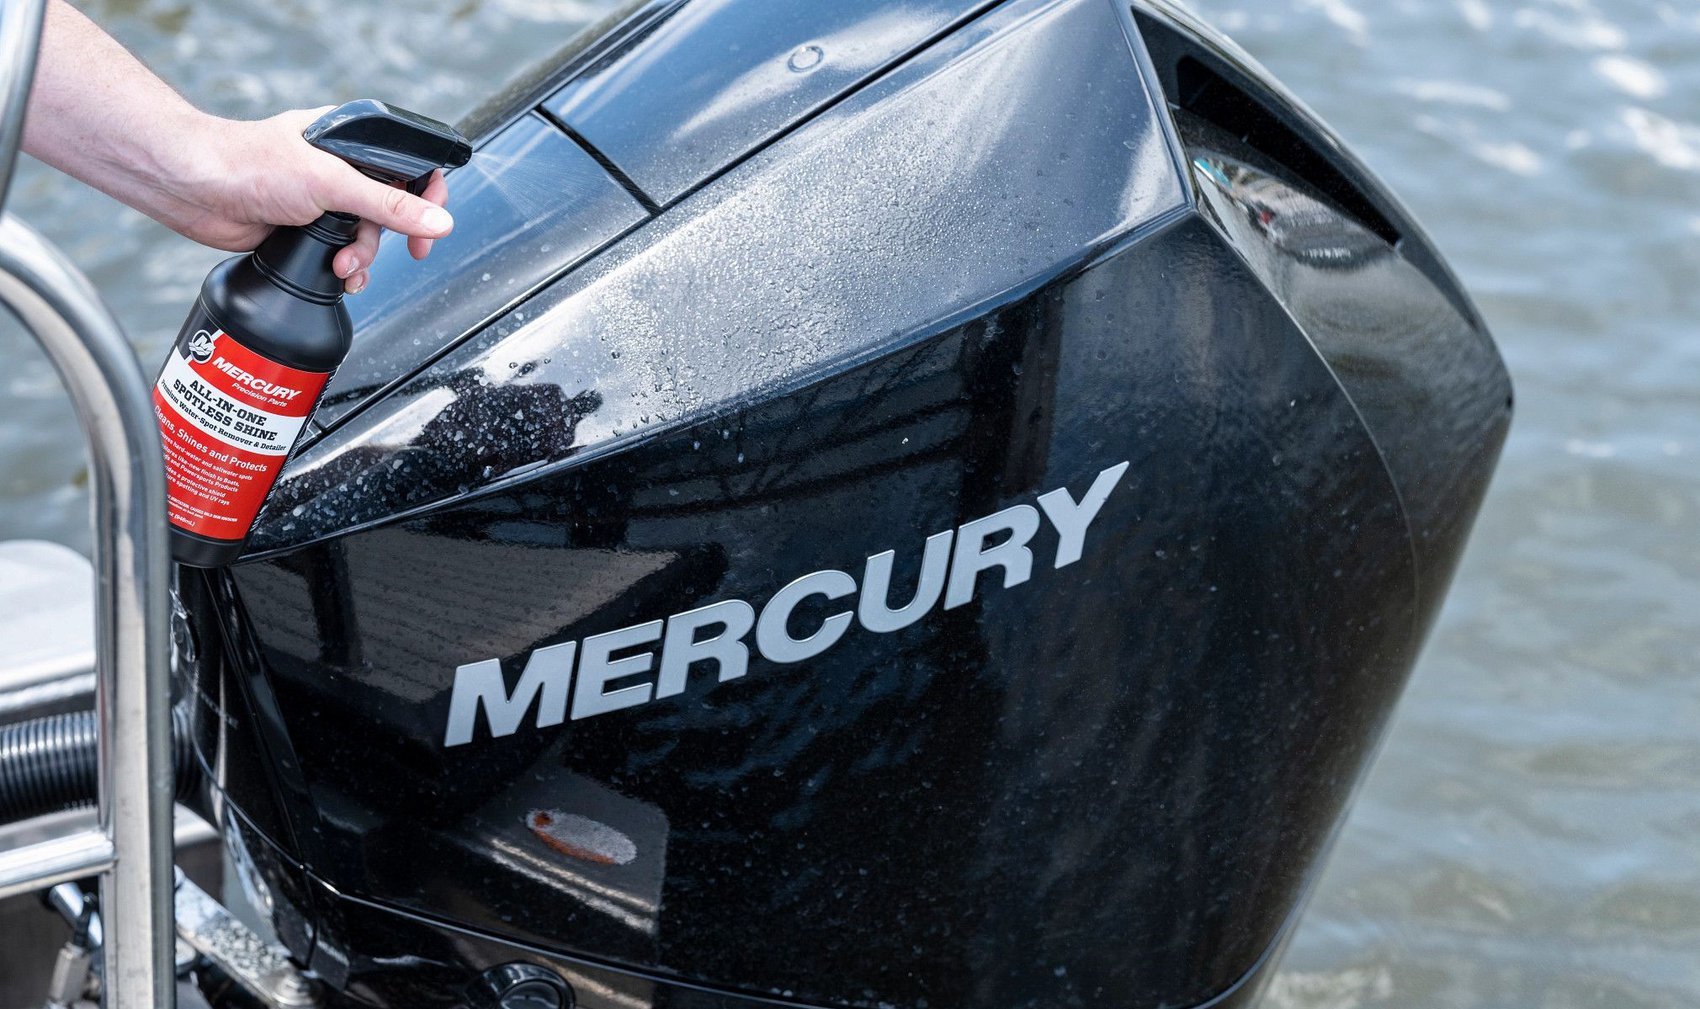
- Mercury All-In-One Spotless Shine cleaning solution (available online or at your local Mercury Authorized Dealer)
- Clean microfiber cloth
Installation
- Before initial use of the cover, carefully read the installation and care instructions that came with it.
- Use the cloth and Mercury All-In-One Spotless shine to clean the cowl surfaces that will come in contact with the cover. It’s important to remove all dirt and salt from the cowl and adjacent finished surfaces as even small particles can scratch and mar the finish over time if trapped under the cover. For more complete cleaning instructions, check out this previous Quick Tip video.
- Remove the splash cover from the package. From inside the boat, locate the front of the cover and make sure it’s facing the right direction. Using both hands, open the cover and start feeding it over the top of the cowl.
- Once the cover is started all the way around the cowl (with none of the bottom hem folded under) so that it won’t pop back up, pull the front of the cover down into place.
- With the front fitted all the way down and the front vertical seams and gussets matching the corners of the cowl, you can move to the back, working from the ground. From there, pull the back of the cover down until it’s also fitted into place. The cover should be smooth and snug from top to bottom, all the way around the cowl.
- If your outboard is equipped with an exhaust relief port in the back, there will be a matching hole in the cover to accommodate it, so make sure the hole is fitted around the port flange and that the material isn’t covering the port. Similarly, if your engine has a service access panel at the top, such as with the late-model V6 and V8 FourStroke and Pro XS® models, there will be an openable flap in the cover, secured with a hook-and-loop fastener, that should allow easy access to the panel.
- Finally, smooth out any wrinkles and give the bottom hem one final downward tug all the way around, and you’re ready to hit the water.
Please note, the splash cover is made for trailering and on-water use, not for outdoor storage, so you’ll need to remove it once you get home. If you are interested in a cover that will provide maximum protection for your cowl while both trailering and in storage, check out this Dockline Blog, which will tell you all about the Mercury Tow-N-Stow Storage Cover.


