

The trusty Palomar knot. It’s been around forever, and most anglers know how to tie it. After all, it is relatively simple to learn and can be tied quickly. By popular opinion and proven through knot strength tests over the years, the Palomar knot is one of the strongest knots you can tie. However, according to Mercury Pro Team member James Niggemeyer, several pros have discovered that for fluorocarbon line, a different knot is better – the Eugene slip knot.
Niggemeyer, of Van, Texas, said he stopped using the Palomar knot for fluorocarbon line several years ago because of the friction created when the knot is cinched tight. According to Niggemeyer, the friction creates heat that weakens the knot and could cause breakage. Wetting the knot before tightening helps, but he believes the Eugene slip knot is still a better alternative.
“For braided line, the Palomar knot is great, and I would suggest people use it if that’s what they’re good at tying,” said the Major League Fishing Pro Circuit angler. “But for fluorocarbon line, I suggest a newer knot called the Eugene slip knot. I use the Eugene slip knot for the drop-shot and everything else that I tie with fluorocarbon line, all the way up to 20- and 25-pound test. It is my exclusive fluorocarbon knot.”
To learn to tie the knot, follow these steps and check out the video down below, where Niggemeyer demonstrates the proper way to do it.
Tying the Eugene Slip Knot
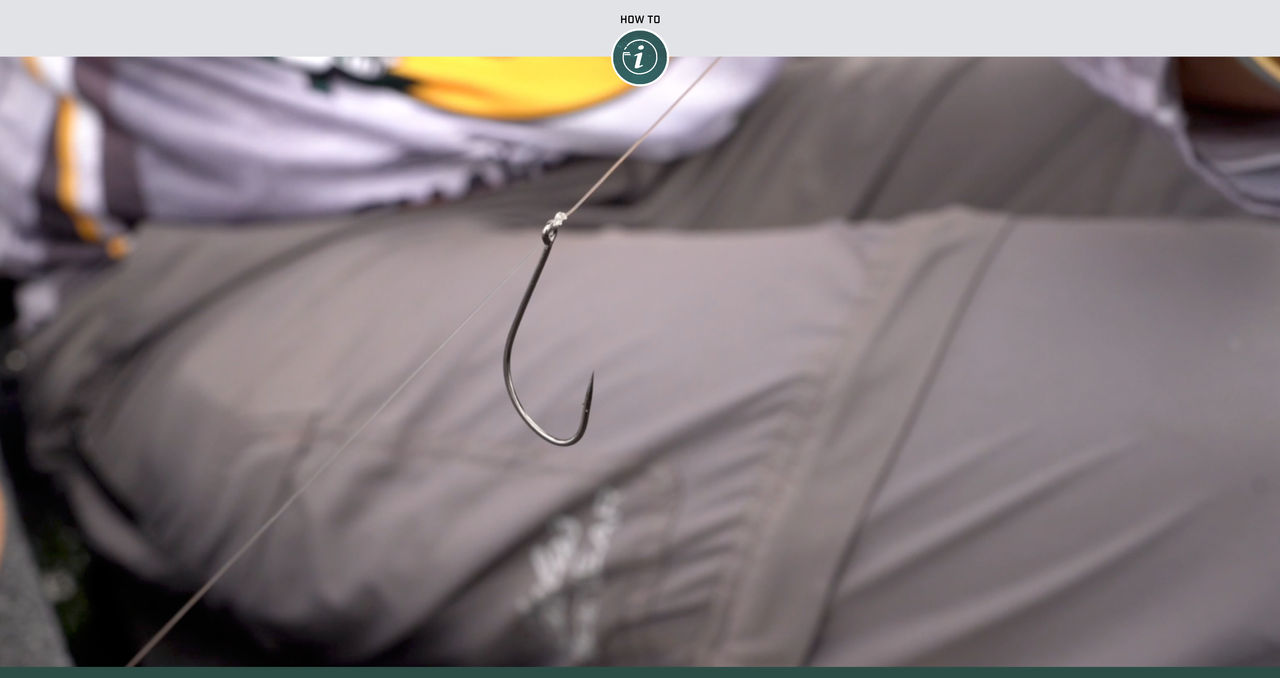
1. Run the line through the eye of the hook. Niggemeyer goes through the top of the eye, so the tag end comes out opposite the hook point.
2. If you’re tying a drop-shot, pull through enough tag end for the desired dropper length. Otherwise, 8 inches or so will do.
3. Form a small loop in the tag end below the hook eye.
4. Wrap the loop around the main line – above the hook eye – three times.
5. Bring the tag end up through the loop.
6. Cinch the knot down slightly.
7. Wet the knot.
8. Slowly cinch the knot down tight. You should feel or hear a “click” when the knot seats properly.
9. For most applications, you can now trim the tag end. If you’re tying a drop-shot, pass the tag end back down through the eye of the hook so it comes out opposite the hook point. This will make the hook stand out as it should for drop-shotting.
10. Finish the drop-shot rig by tying on a weight at the end of the dropper line.
Confidence is the Name of the Game
Practice the knot a few times before going fishing, to make sure you’re able to tie it quickly. Once tied, double check that the knot is snug and clean, so you can be confident it’ll keep that big fish on your line in the moment of truth.
“The main thing I want to stress is to have confidence in the knot you’re tying, whether it’s the Palomar or the Eugene slip,” added Niggemeyer. “You need to be able to tie the knot under all types of conditions, windy or rainy, and you need to be able to tie the knot without even thinking.
“You also need to know the knot won’t break when you’re fighting a big fish. In the back of my mind, with the Palomar knot, I was worried my line was going to break. I don’t work about that with the Eugene slip.”
To follow James Niggemeyer on the MLF Pro Circuit, check him out on Instagram, Facebook, Twitter and YouTube.