Your batteries are among the most critical components of your boat. Neglect them, and you do so at your own peril; if they aren’t functioning properly, your boat’s going nowhere under its own power.
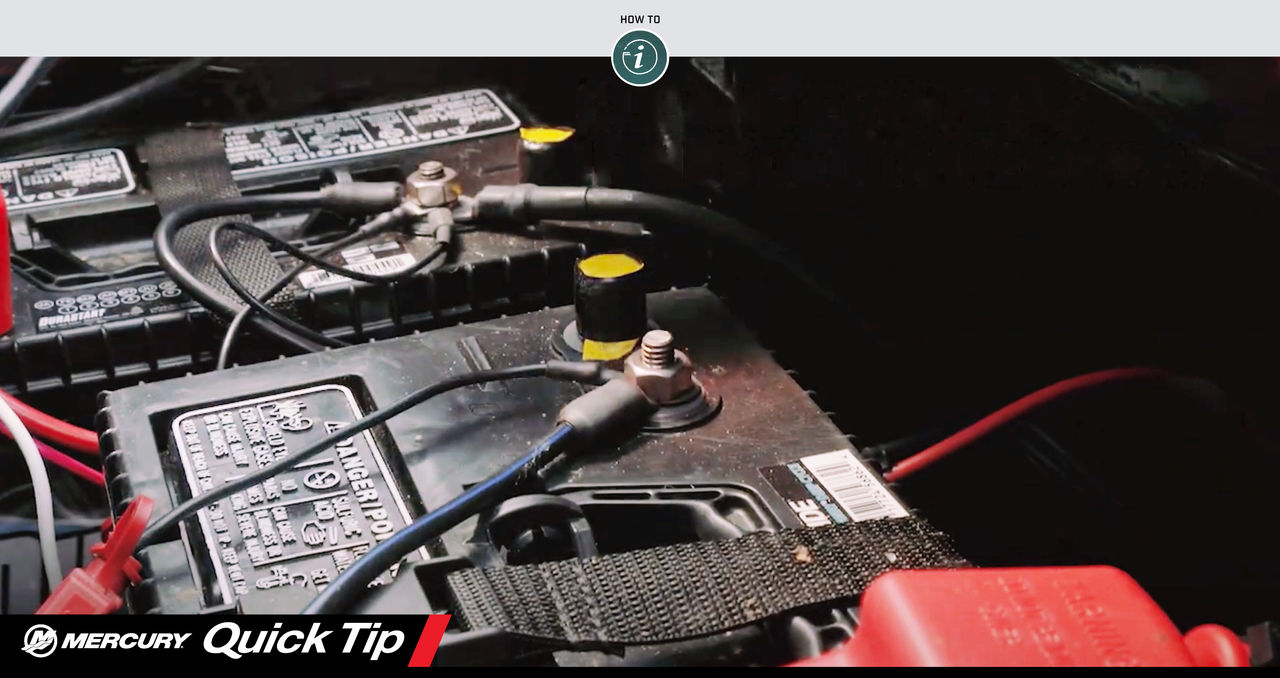
Fortunately, it takes just a few minutes with some very simple tools between every trip or two to inspect and maintain them. In this Mercury Quick Tip, we’ll show you what to look for and how to ward off creeping issues that can damage your batteries or keep them from charging properly. It’s much easier to fix them in your driveway than to let a dead battery that could have been prevented ruin your day on the water.
If you think battery maintenance is something that’s best left to a technician, think again. Most people can do it, and you don’t want to wait until your annual trip to the dealership to address a loose battery terminal or broken tie-down strap.
Here are a few more recommendations to go with what you’ll see in the video:
- Use hex nuts, not wingnuts, to secure the battery cables to the battery terminals. Wing nuts cannot be trusted to stay tight.
- When tightening the hex nuts, use a correctly sized wrench instead of an adjustable wrench to avoid slippage.
To minimize the chance of creating a short, remove the negative battery cable before using the wrench on the positive connection. Once you’ve tightened the positive connection and replaced its protective rubber boot, you can reattach and tighten the negative cable.


