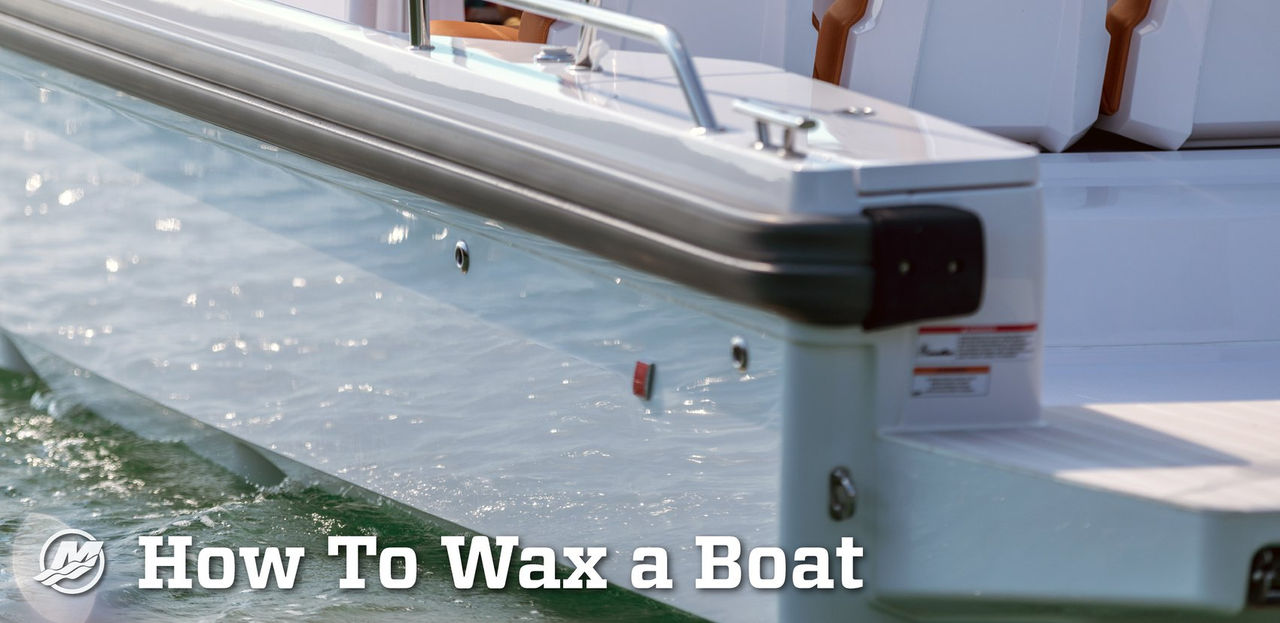
Other than actually being on the water, nothing brings a smile to a boater’s face faster than that moment when they step back and admire a gleaming, freshly waxed boat, shining like the day it came home.
A proper waxing not only keeps a boat looking sharp, but it’s also part of the routine cleaning process that helps prevent dirt and grime from permanently abrading or staining visible surfaces.
Most boaters only wax their entire boat at the beginning and/or end of the season. However, some heavy users elect to do an additional interior or above-waterline wax every month or two.
How often you wax your boat is up to you, but make sure you’re using a paste or liquid wax that is specially formulated for boats. Automotive wax isn’t intended for the marine environment.
There is a deep divide in the boating community about whether to wax the bottom of a boat. Some claim that waxing the bottom causes the boat to “stick” tighter to the water while underway, causing a slight loss of speed or efficiency. Others champion the notion that a waxed hull is much less apt to be stained by murky water and mud, and that the long-term aesthetic improvement and protective barrier outweigh any minute speed loss. The choice is yours, but for most people the added protection is worth it.
The wax you buy will include specific application instructions, but the following basic procedure is standard:
- Thoroughly wash and dry the boat before waxing. This is critical. Waxing involves a lot of rubbing, so any dirt or debris will have a “sandpaper effect” on the finish.
- Use an application pad or extra-soft rag to rub on the wax using small, circular motions. Apply it to one section at a time, focusing on no more than a few square feet in area, before moving to the next part. Follow the manufacturer’s recommendations throughout this process since leaving the wax in place too long can make it difficult to finish the buffing process in the next step. You might need to buff each small area before applying wax to the next part. For best results, cover no more than one side of the boat at a time.
- Now buff the wax. Buffing entails rubbing down all waxed areas with an extra-soft towel or a chamois. Use a circular motion to remove all traces of the excess wax. Keep polishing until you get as close as possible to a mirror finish.
- Repeat the process until you’ve covered every surface. Some brands of wax should be applied using multiple passes, while others specify one pass only.
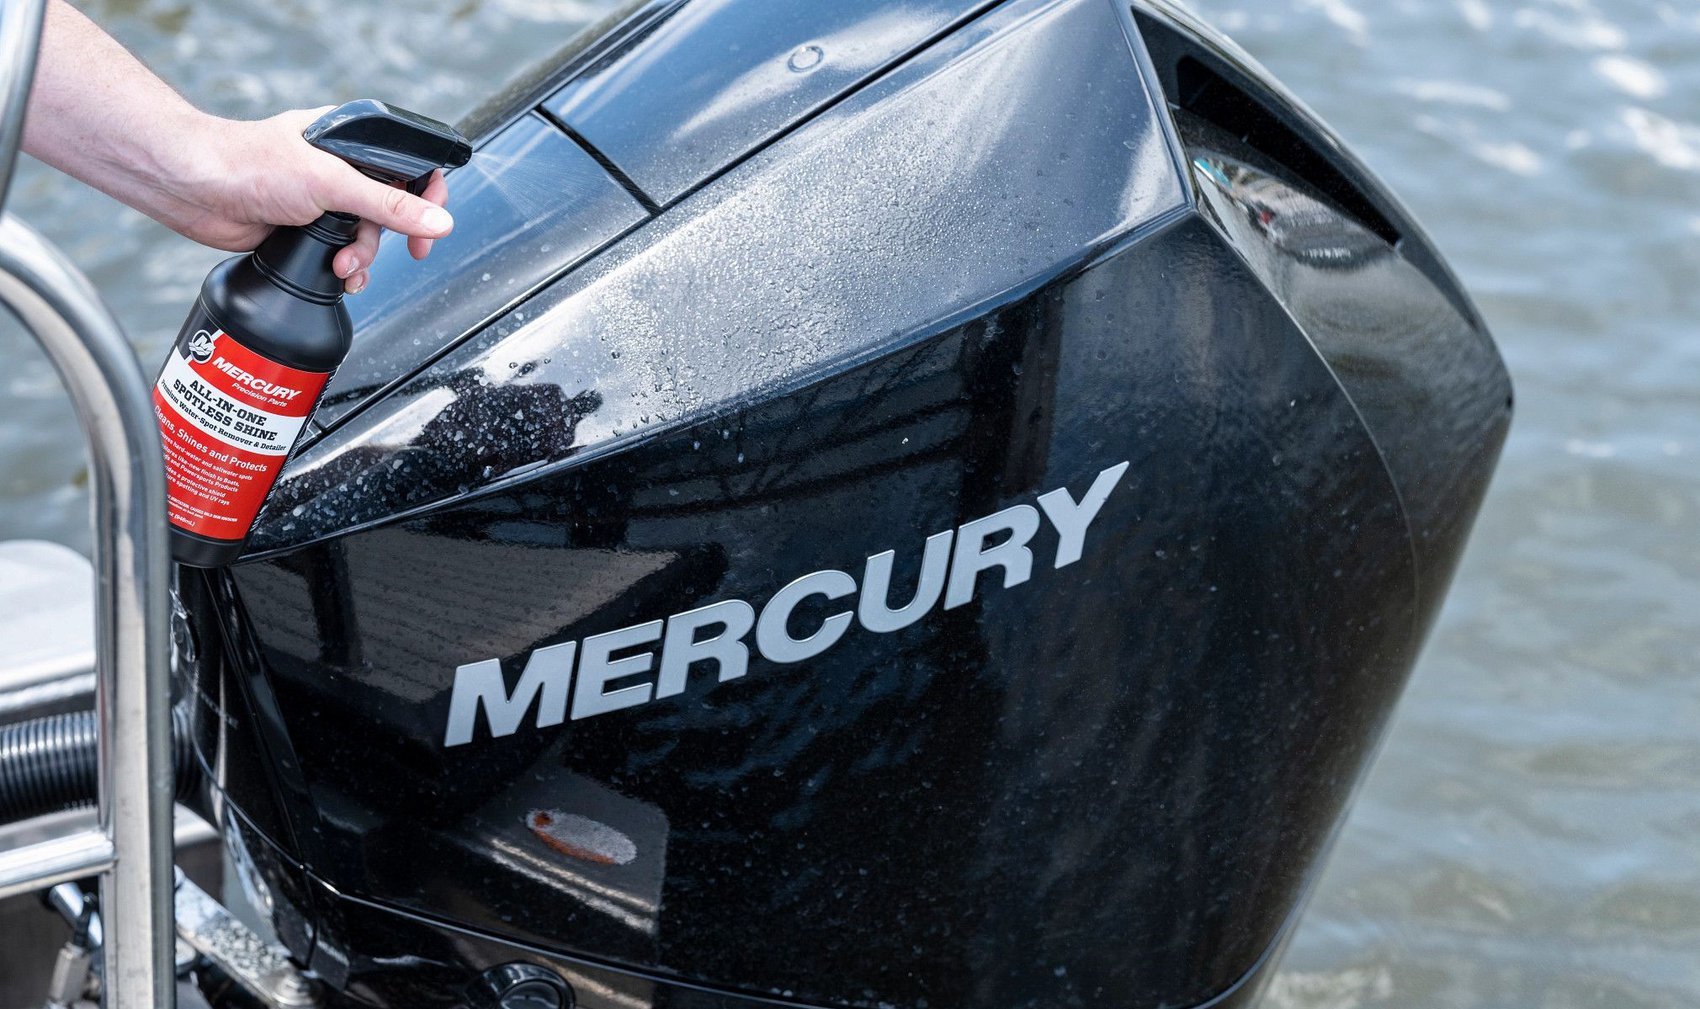
That’s it. For a quick boost in between full applications, you might consider carrying a spray bottle of quick-application spray wax in your boat. Just spritz a little on the most vulnerable surfaces and then wipe it down to maintain the shine. Regardless of how often you wax your boat, all it really takes is a little effort to achieve a finish you can be proud of.
Pro Tip: Try a Power Buffer
Applying and buffing out wax can be done entirely by hand as described, but it will go a lot quicker – and be much easier – with a power buffer. You could try renting one first to see how you like it. A power buffer requires special application and buffing pads, which are available at marine stores and dealerships that sell boat wax. Follow the instructions to make sure you don’t damage the boat’s finish.


